HANDLEBAR BAG ADV
The FAIRWEATHER Handlebar Bag ADV is back, and it’s gotten a serious upgrade!
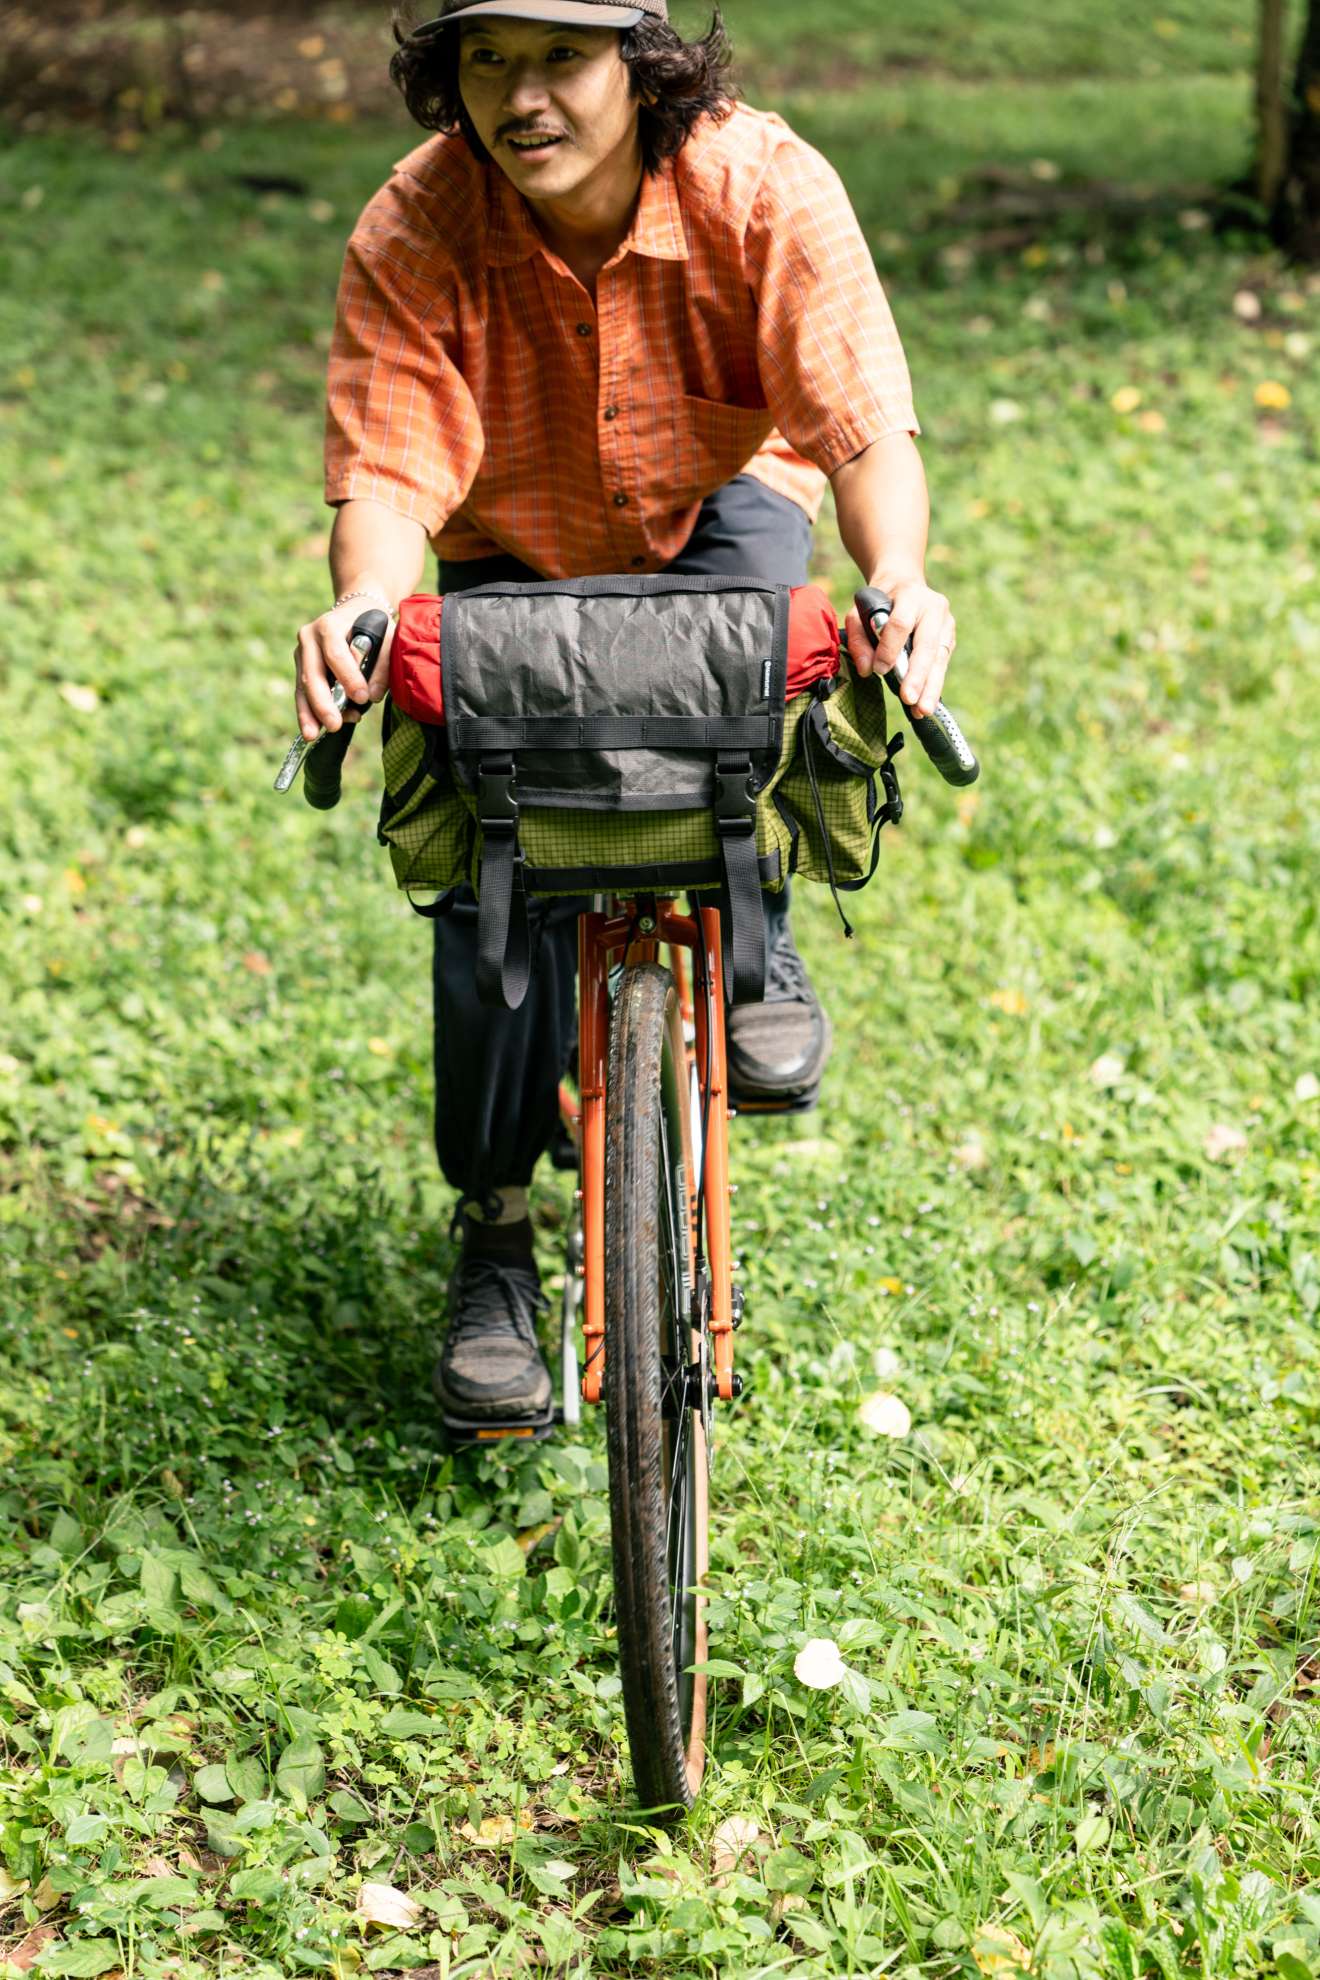
When we first released the bag, the flap was something we were considering selling separately. After feedback from our test riders and users, we finally put it into production.
And starting with this batch, it now comes as standard equipment. That alone should tell you how much the flap improves the bag.
Here are a few of the main reasons why.
▶︎Better rain protection
Because the flap covers both the roll-top opening and the front of the bag, it helps prevent rain from collecting around the roll-top area and reduces water getting into the main compartment.
▶︎More carrying capacity
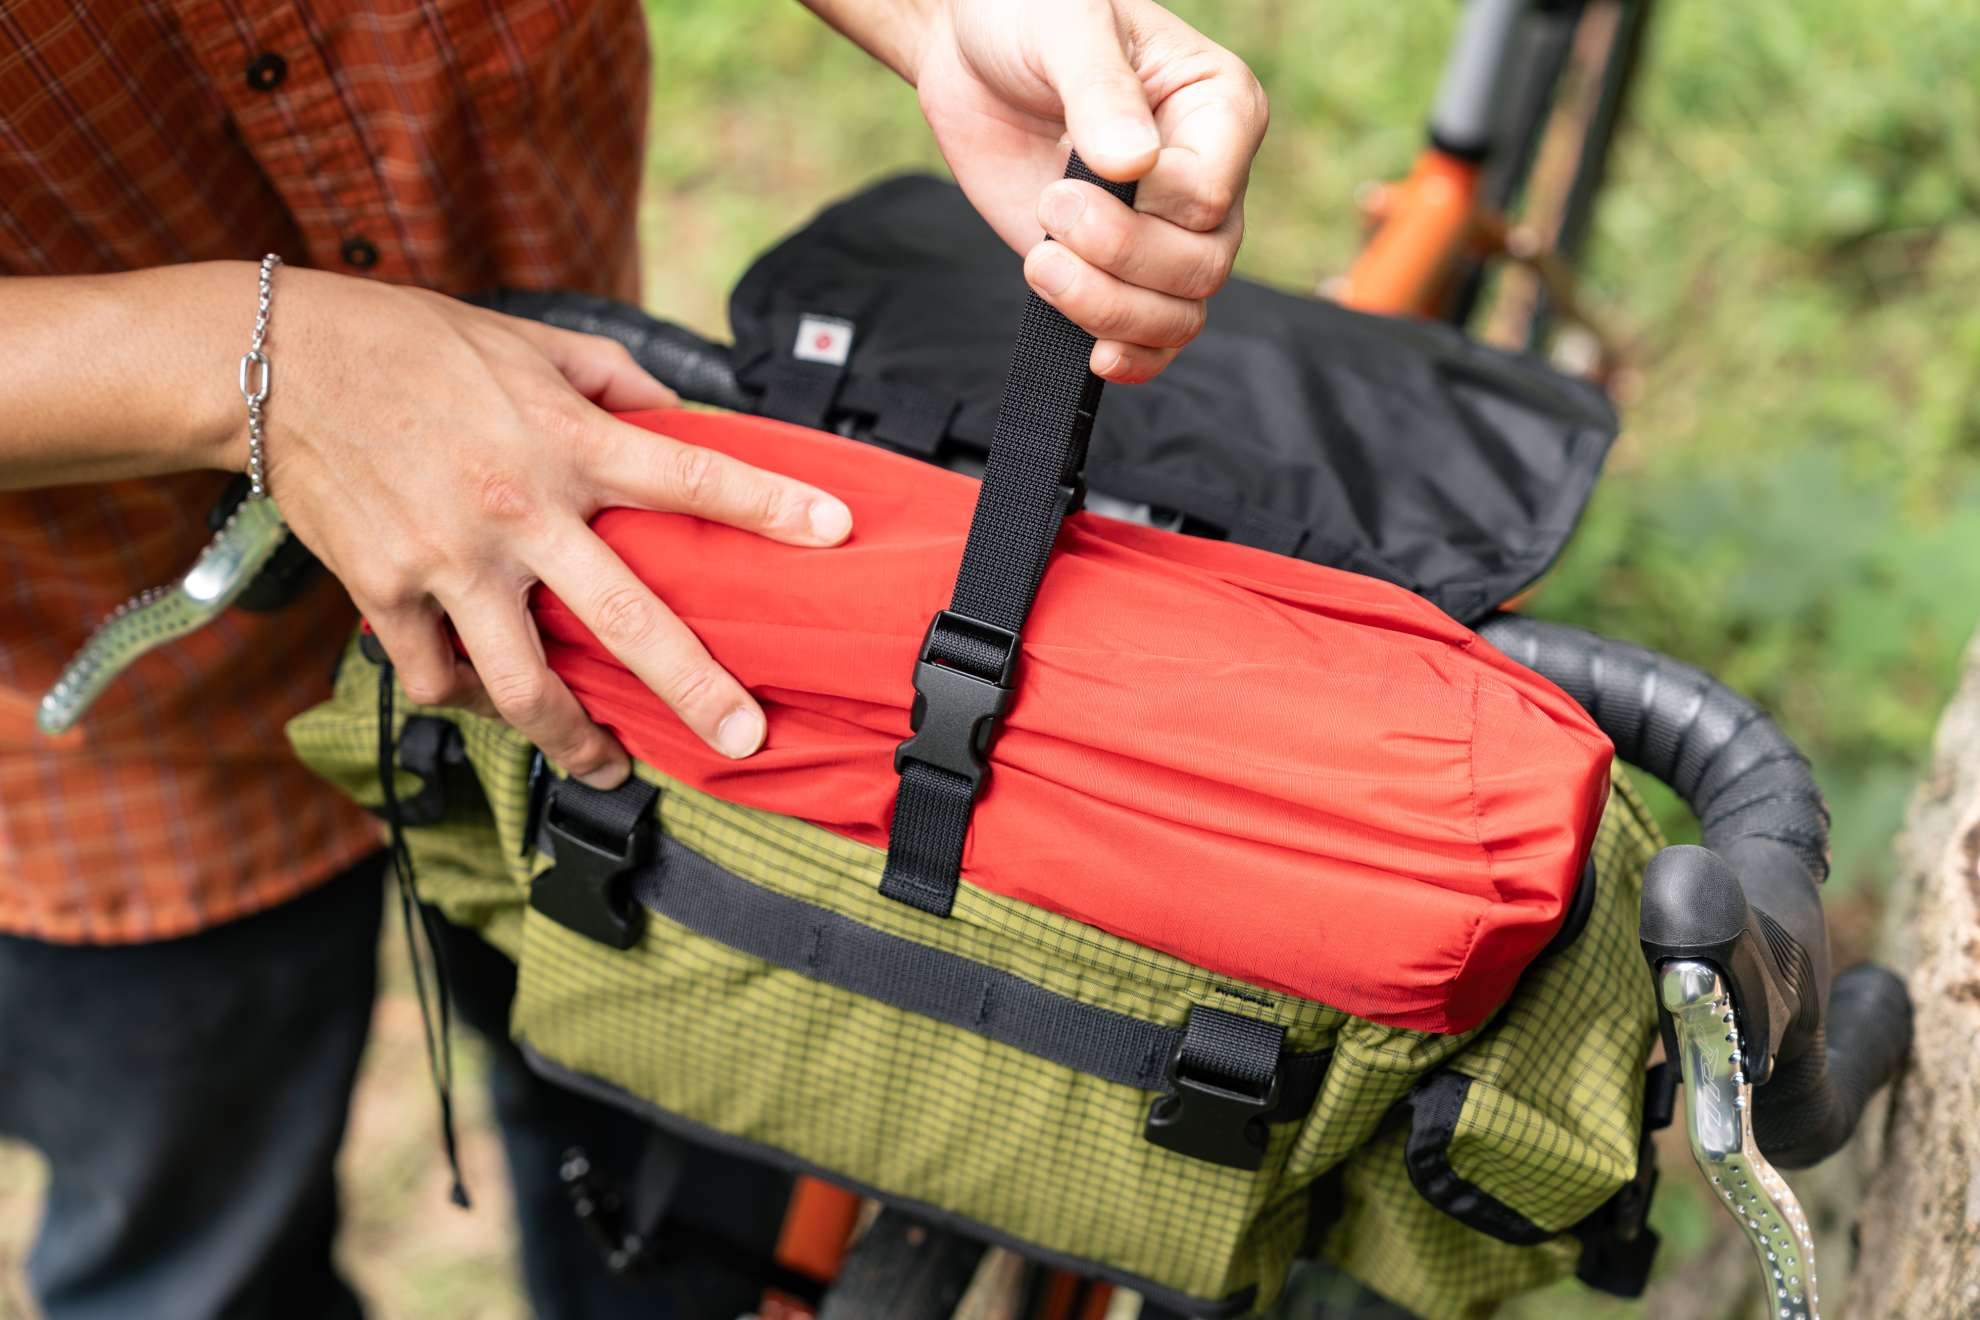
You can sandwich things like a sleeping mat or tent poles between the flap and the main bag, giving you a little extra space beyond the standard 15L capacity.
There are also two daisy chains running across the flap.
Add Voile straps or something like a cargo net, and you can attach lightweight gear such as a jacket or tent poles to the outside.
▶︎Easier, more casual access
There are times when you don’t really need to carefully roll and close the top every single time. In those situations, you can simply throw the flap over the opening, buckle it down, and keep moving.
▶︎Less bag movement and less chance of tire contact
The flap helps lift and support the main body of the bag, reducing both sway and the chance of the bag rubbing against the front tire.
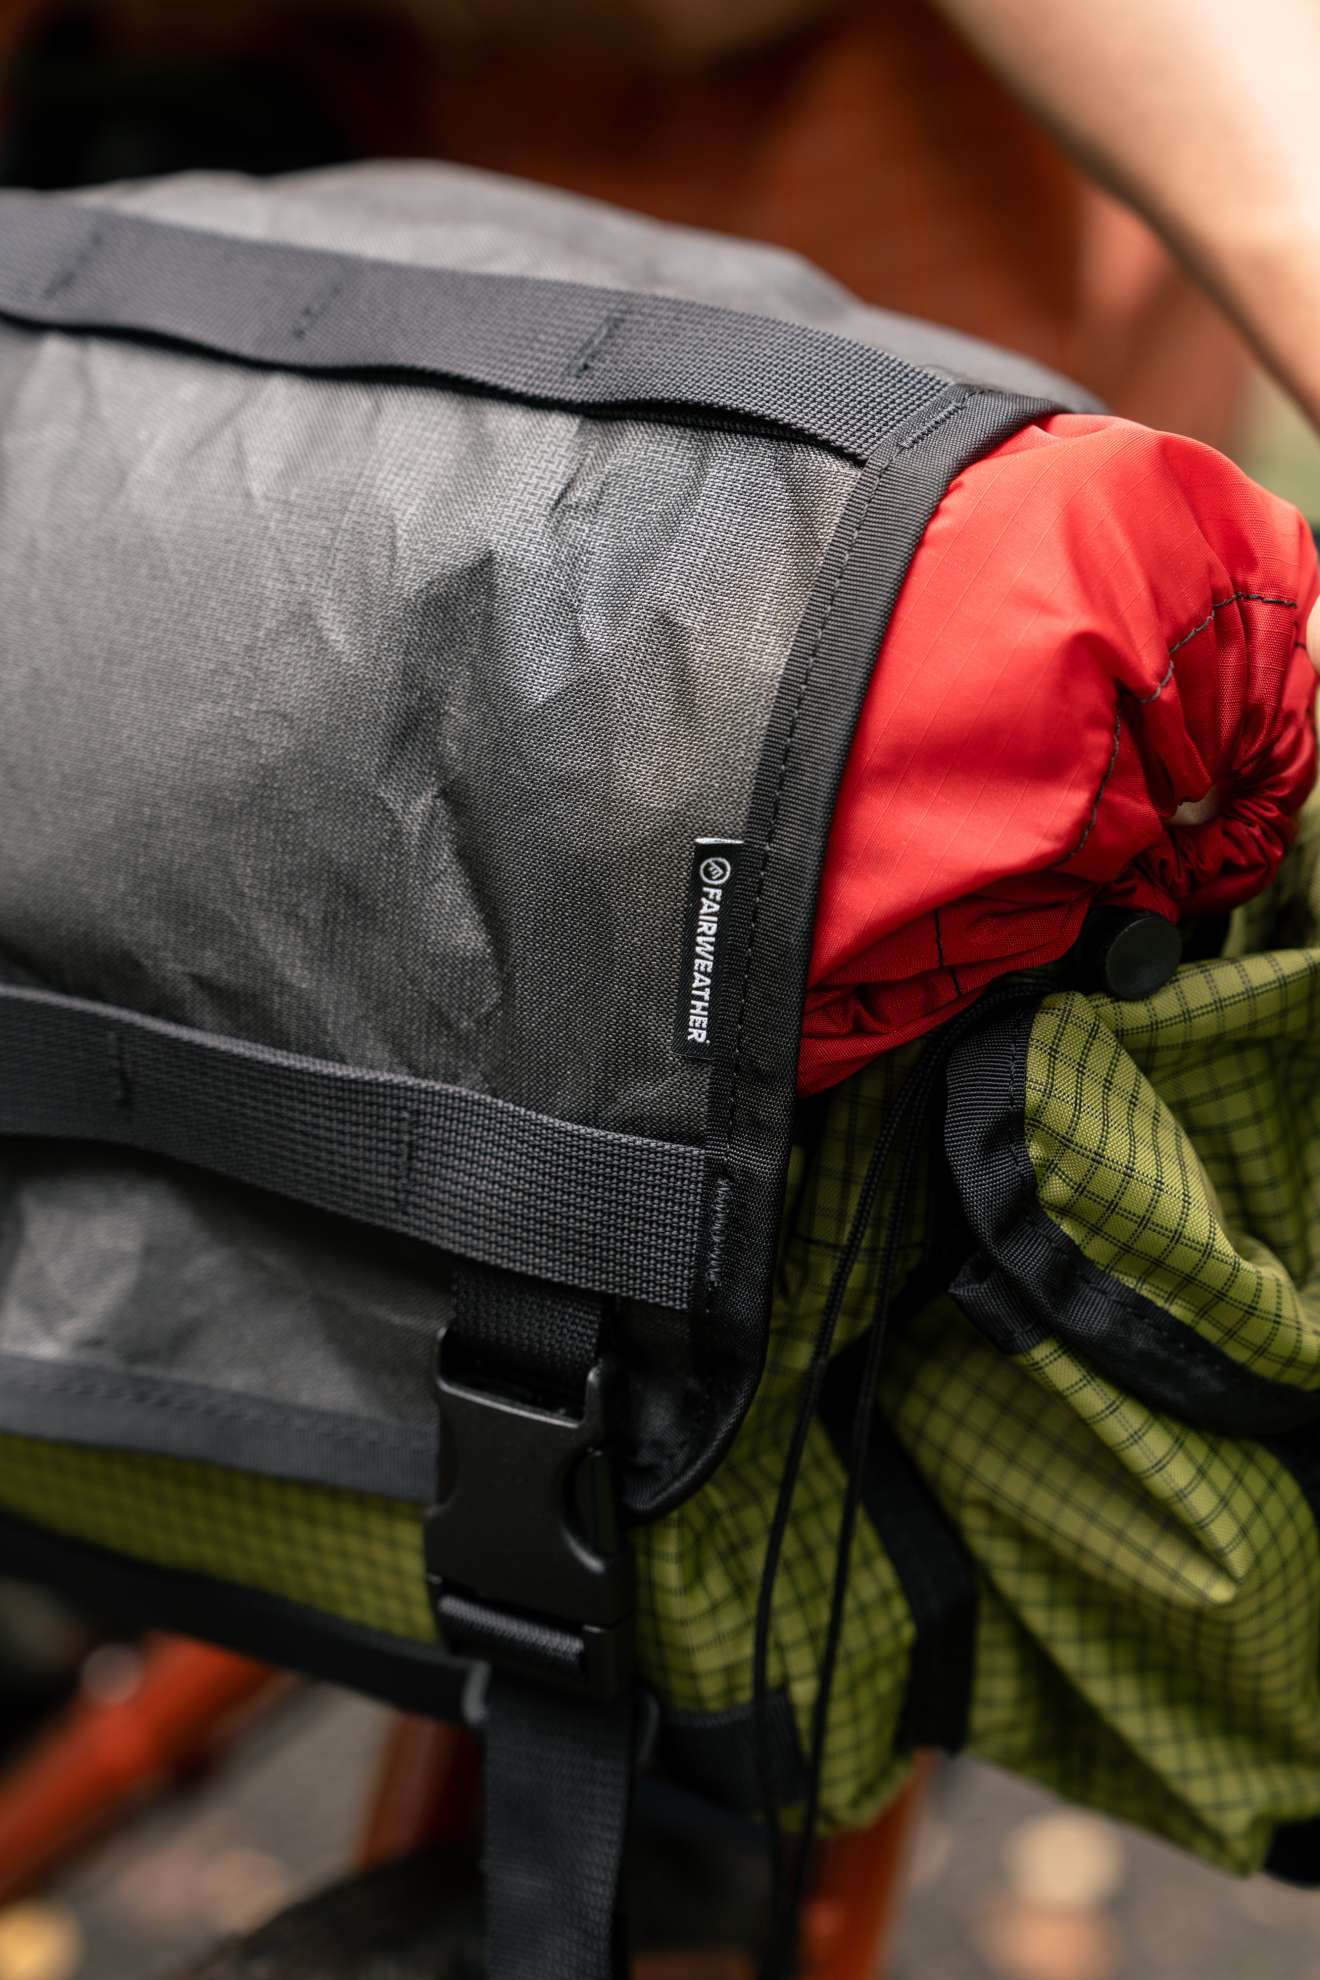
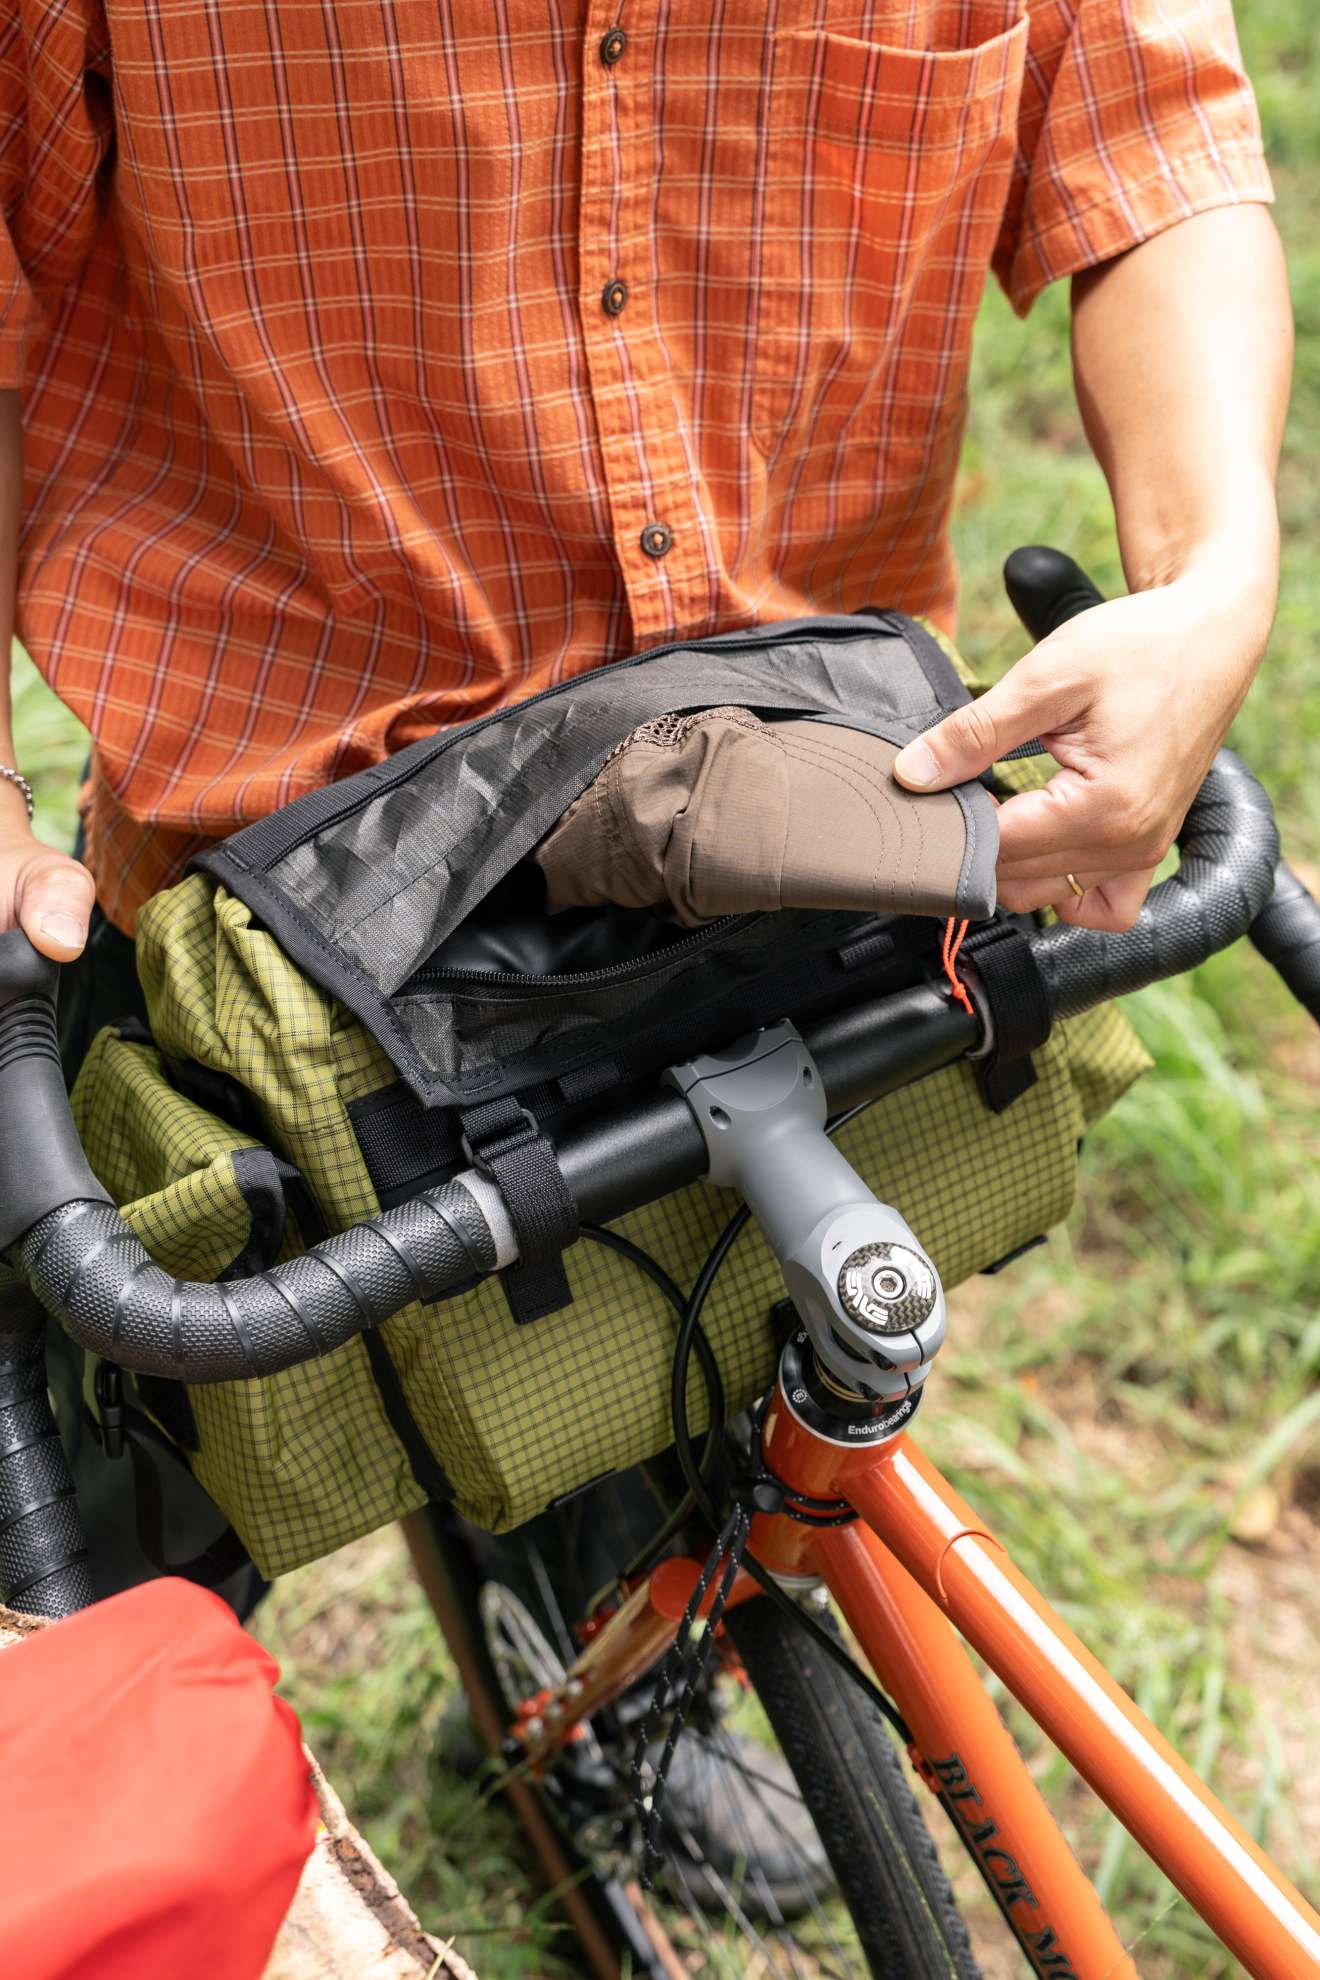
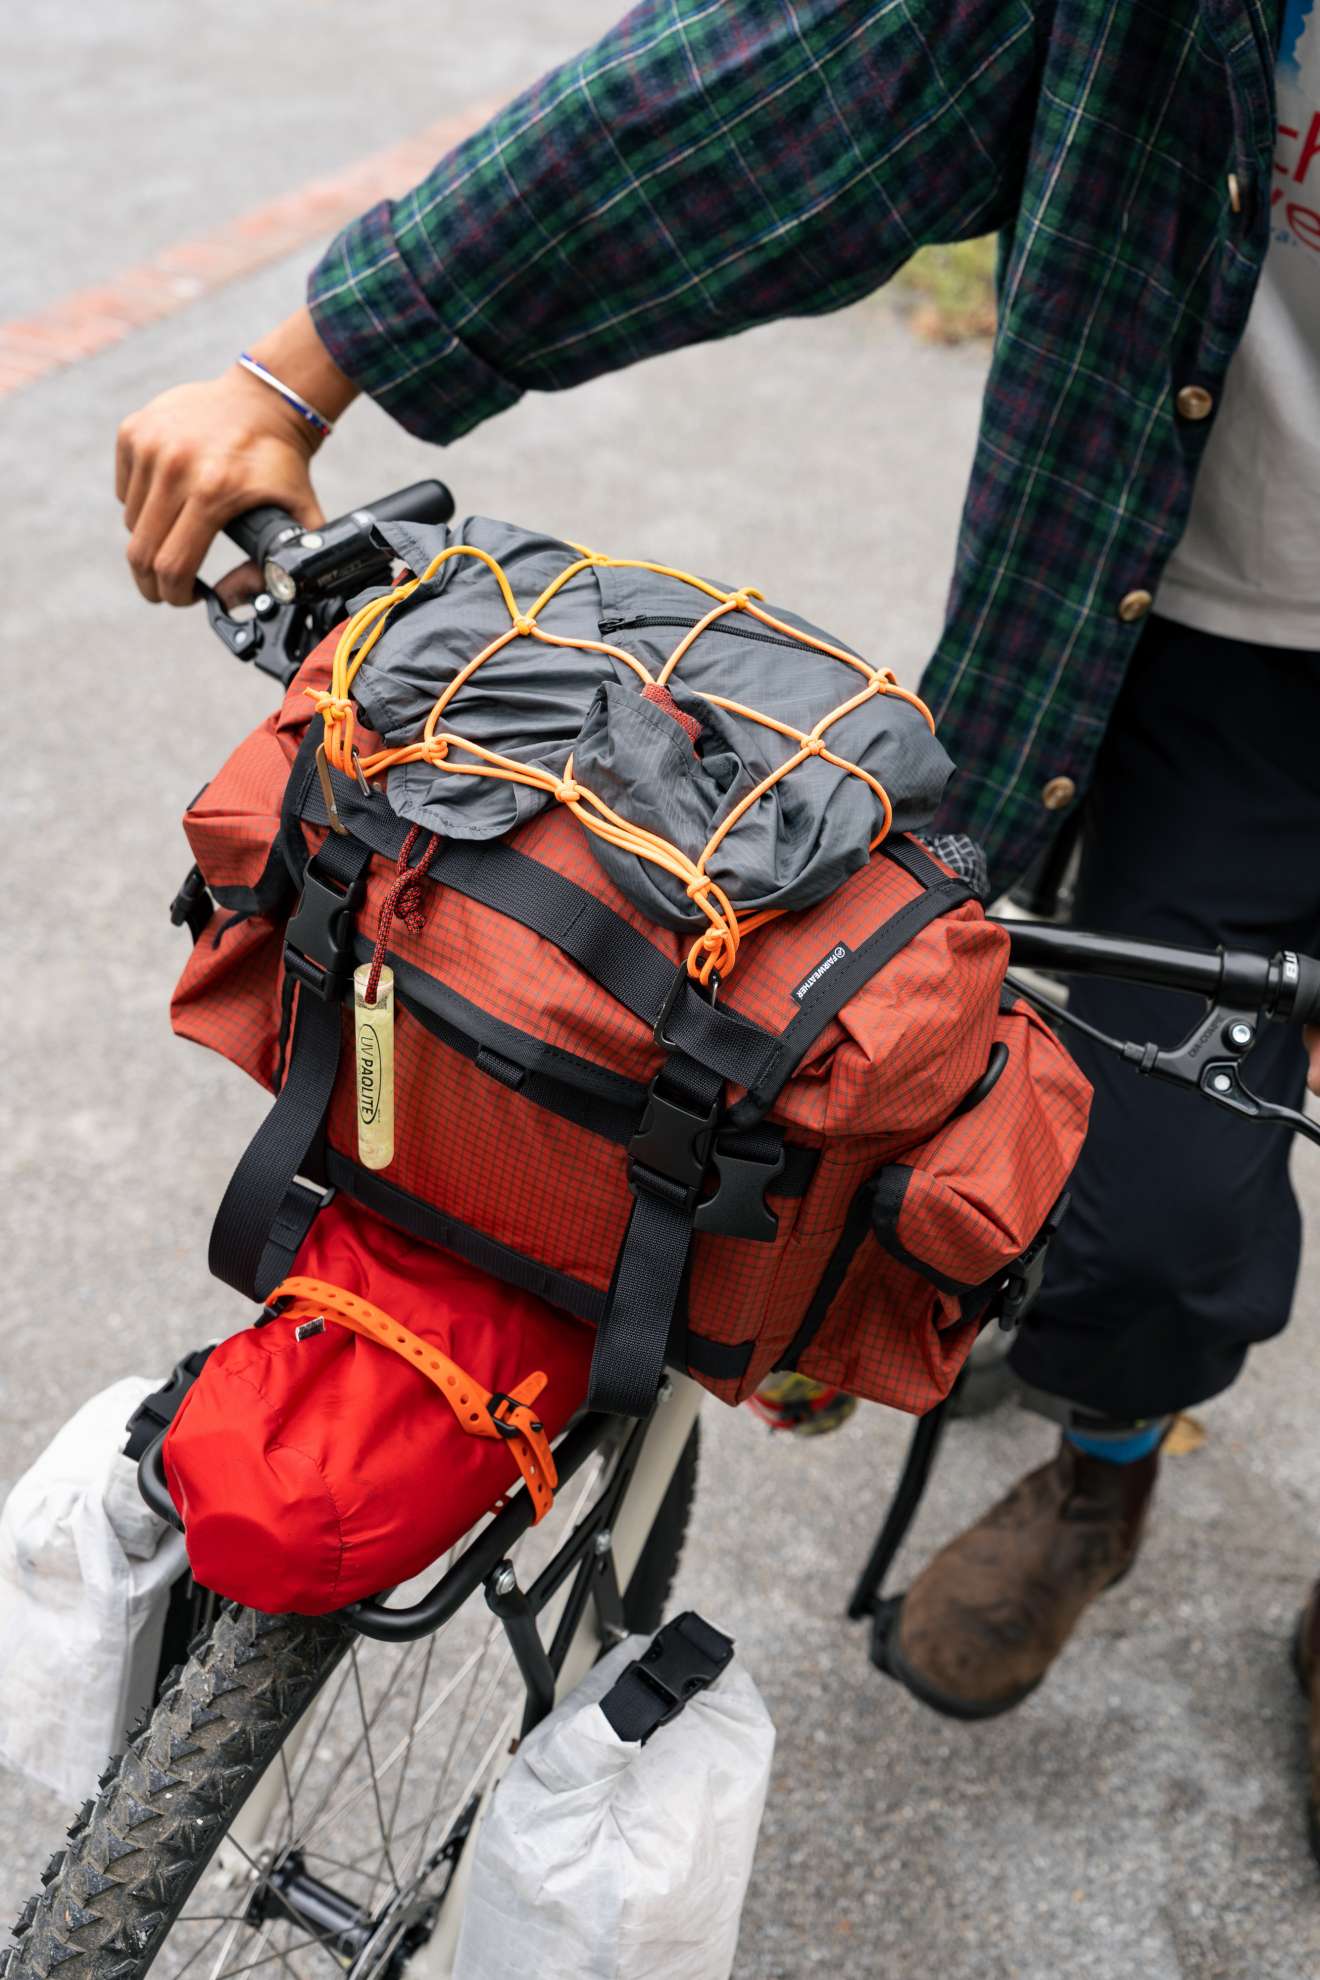
Of course, the function has changed, but the look has changed quite a bit too.
The flap is officially called the Detachable Flap. And just like the name says, it can be removed.
It now comes standard with the bag, but you can also buy the flap separately.
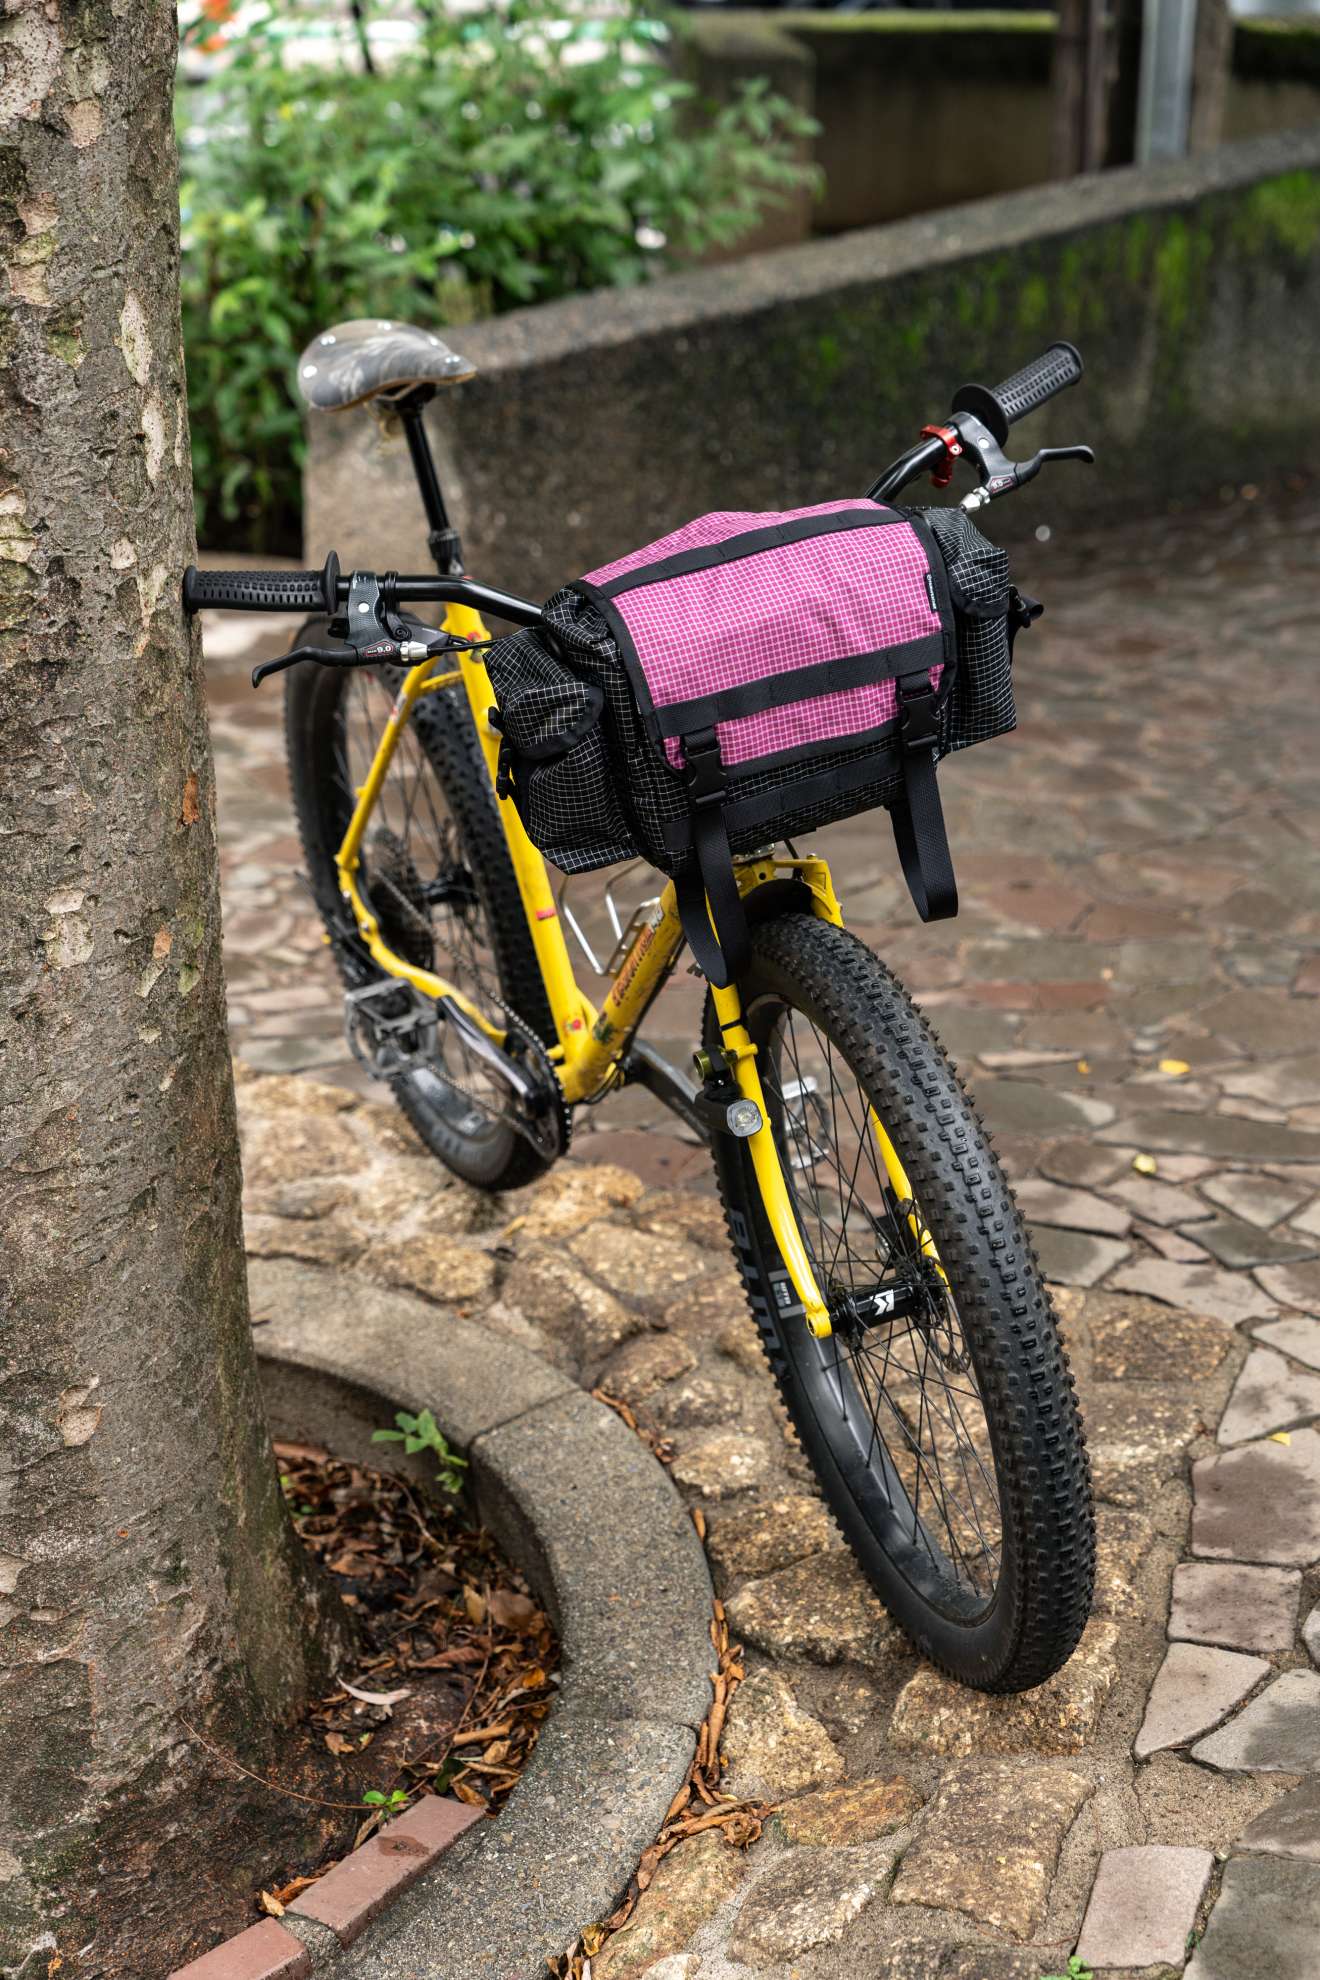
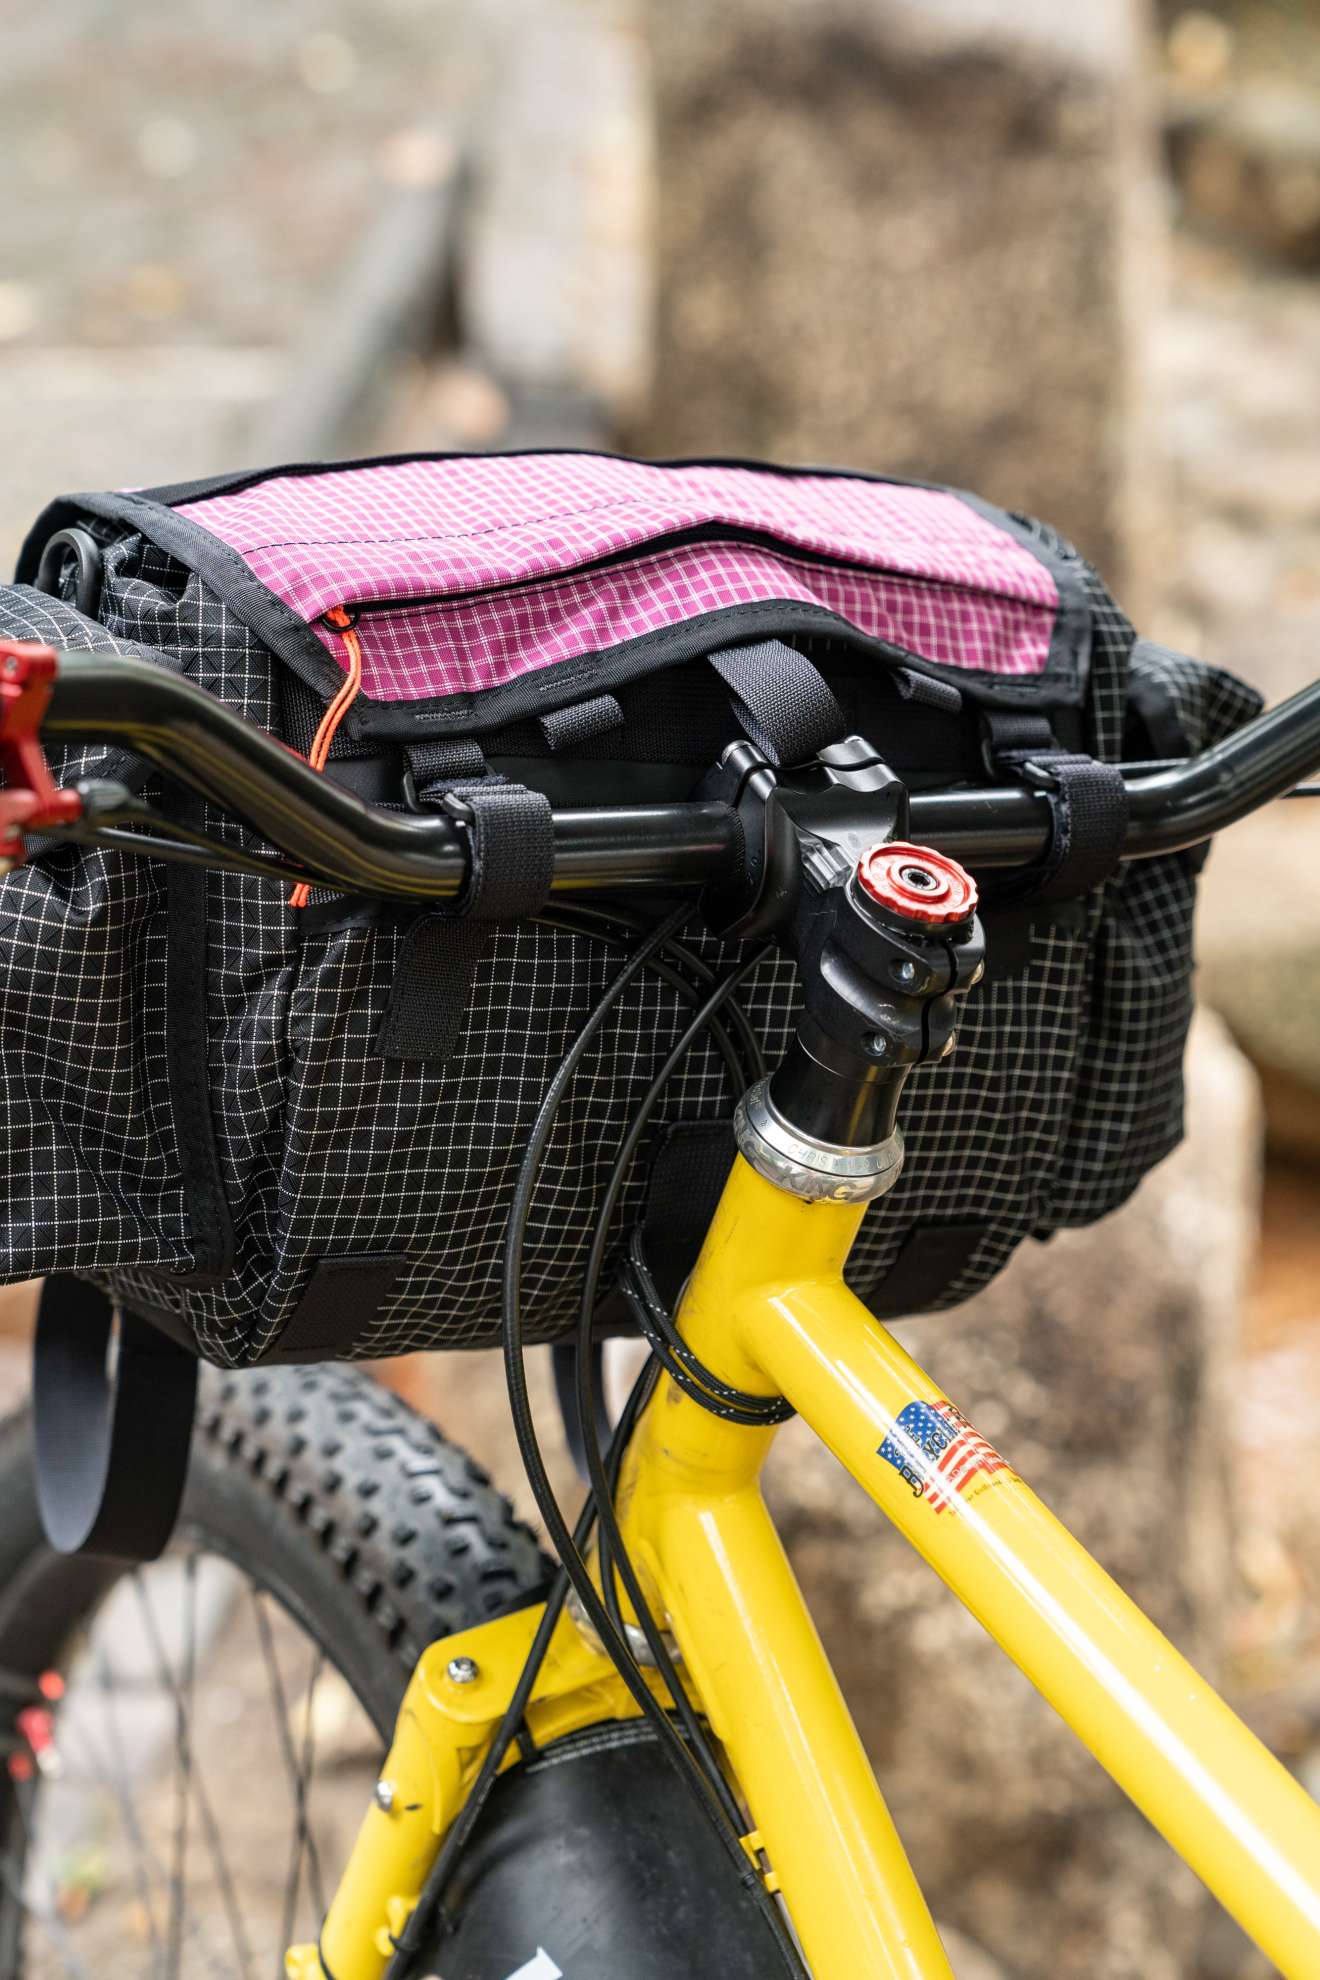
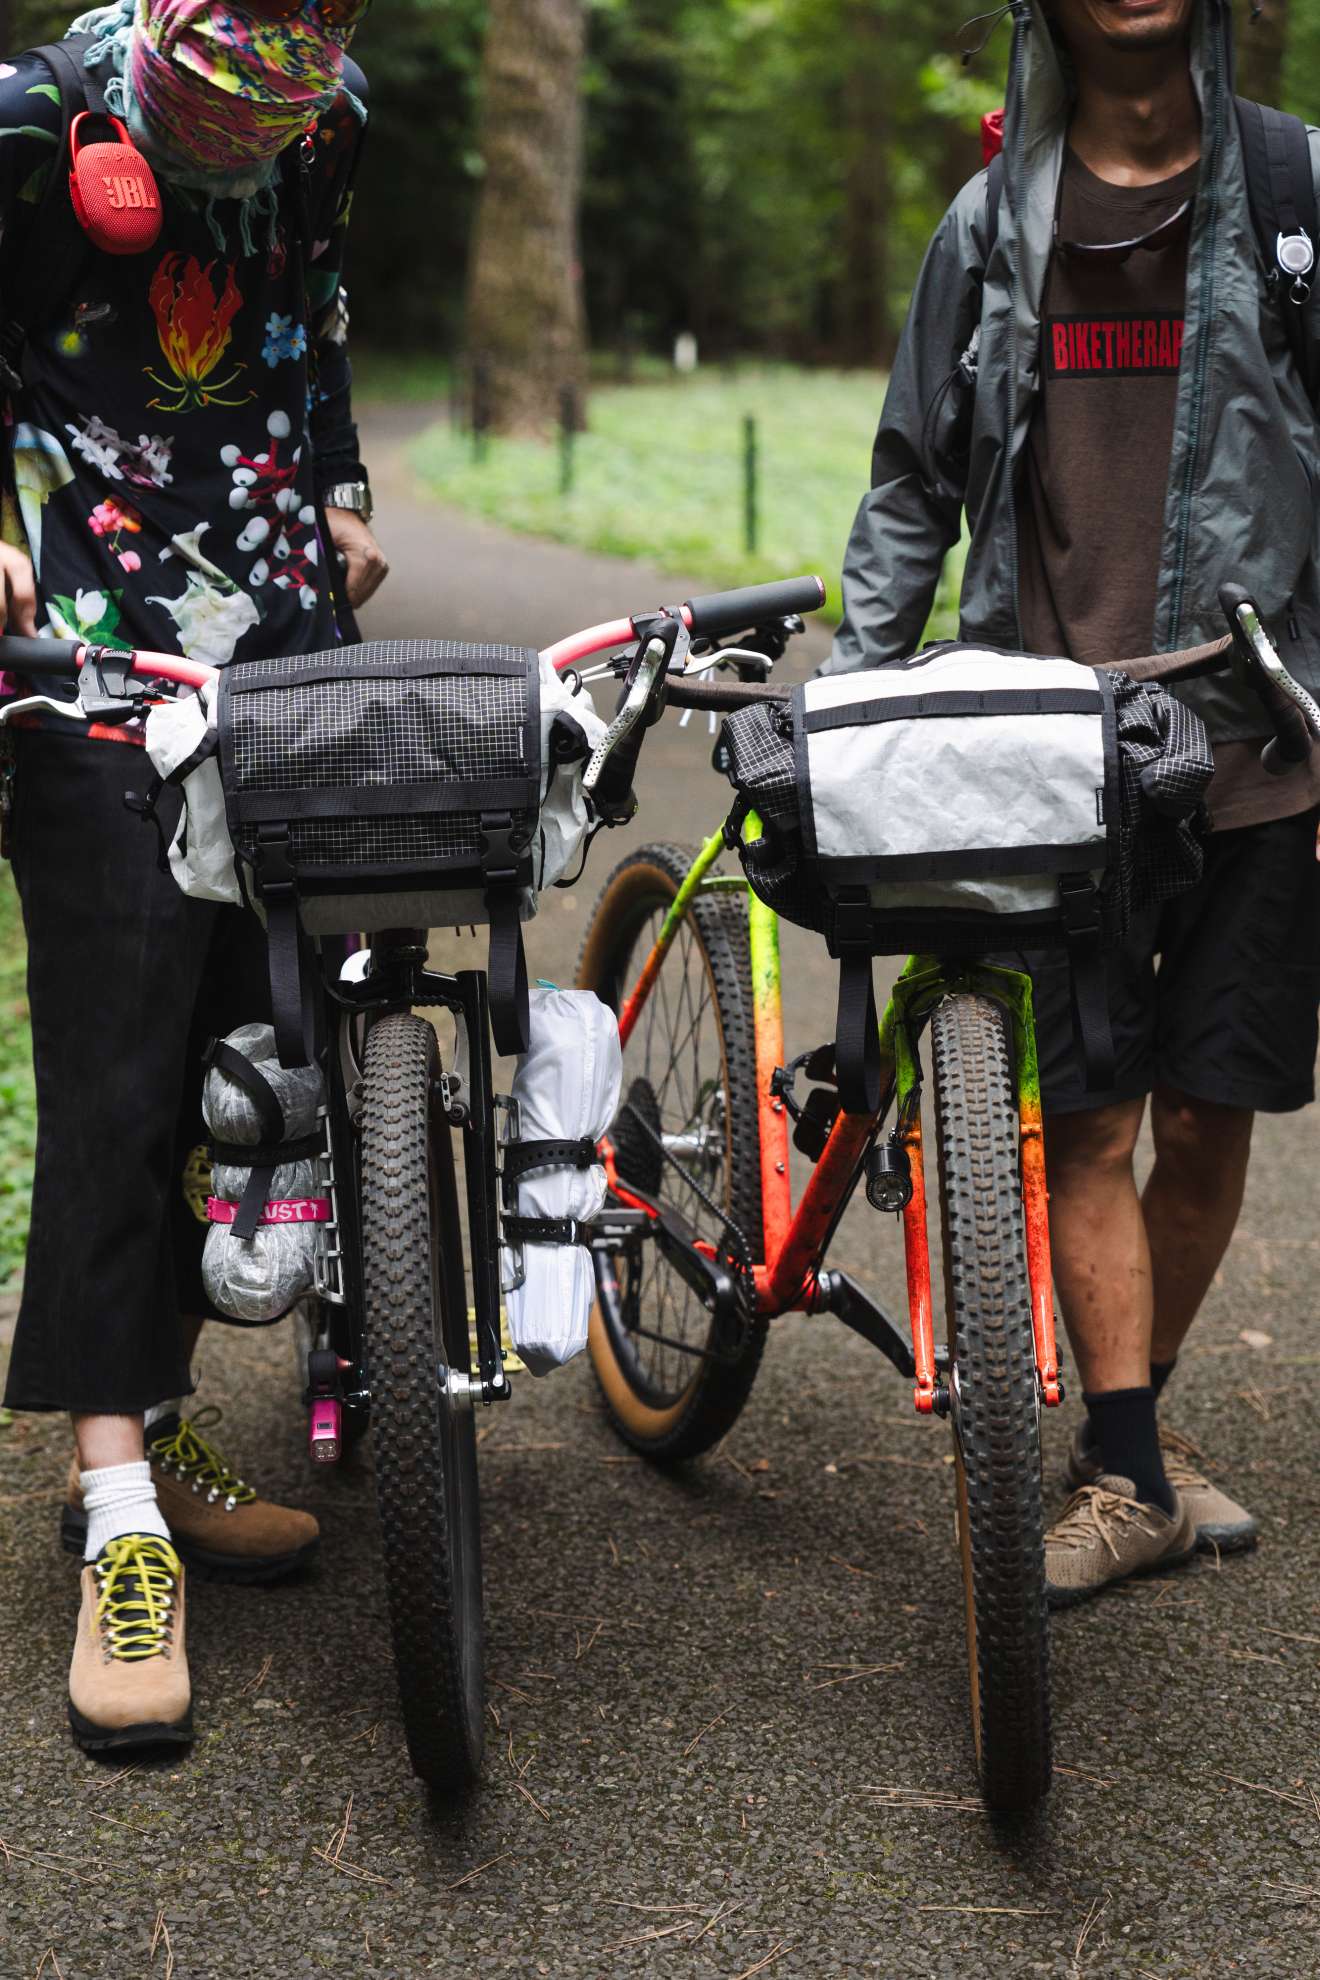
That means you can use it as a replacement if your original flap gets damaged, or you can choose a different color from the main bag and have a little fun customizing it.
It costs a little extra, but if you like playing around with color combinations, it’s a nice option.
There are also a few updates to the main body of the bag itself.
The two biggest changes are:
▶︎A new center compression strap
We added a compression strap to the center of the roll-top section.
This helps reduce twisting and movement while riding.
▶︎A more compact overall shape
The bag is slightly smaller in both height and width, and noticeably slimmer in depth.
That helps reduce movement and also makes the bag easier to fit on smaller bikes.
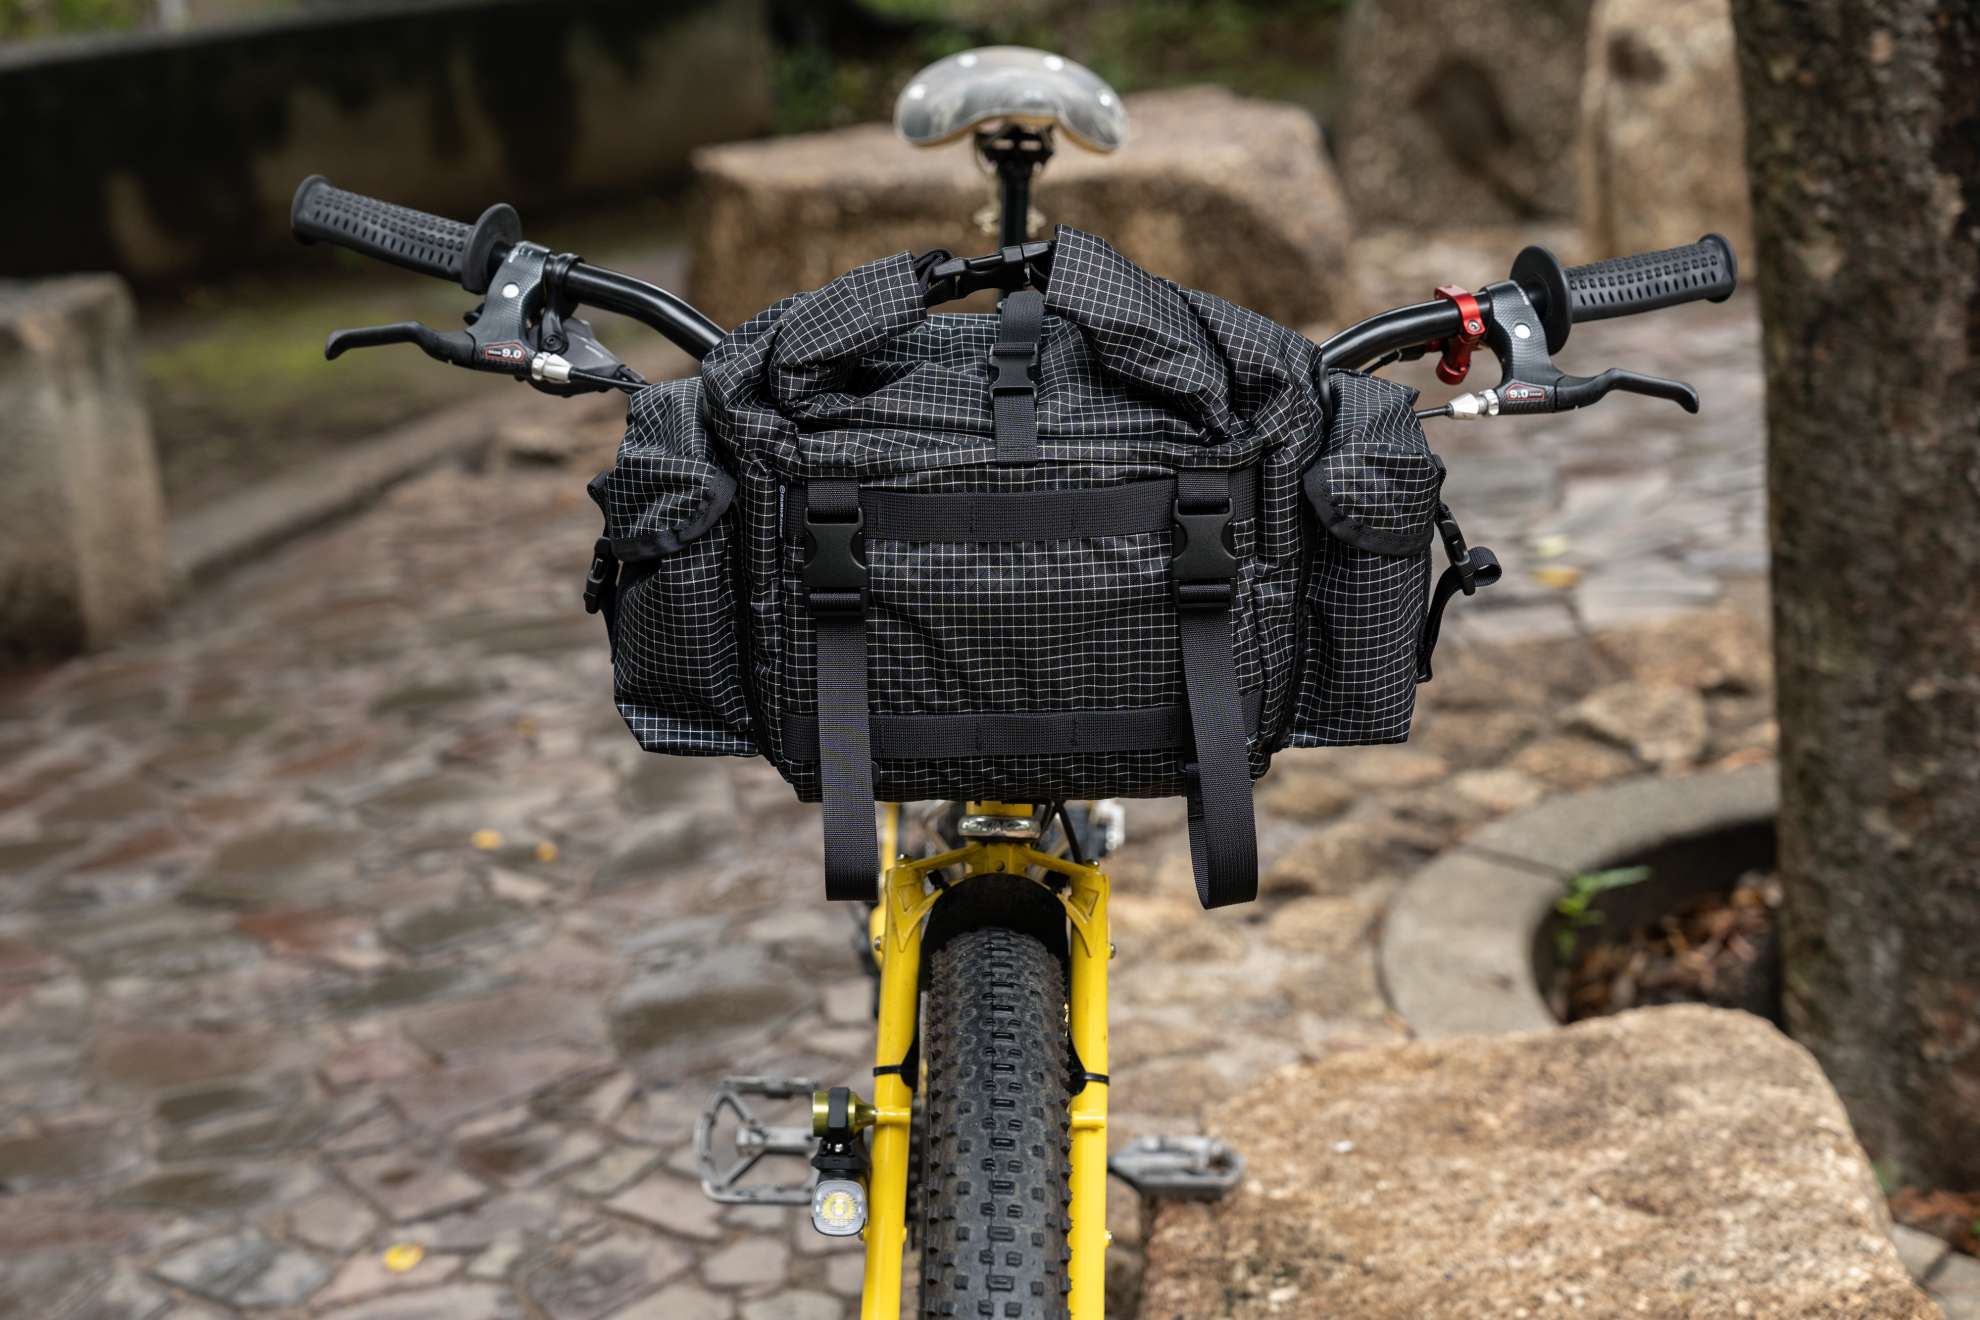
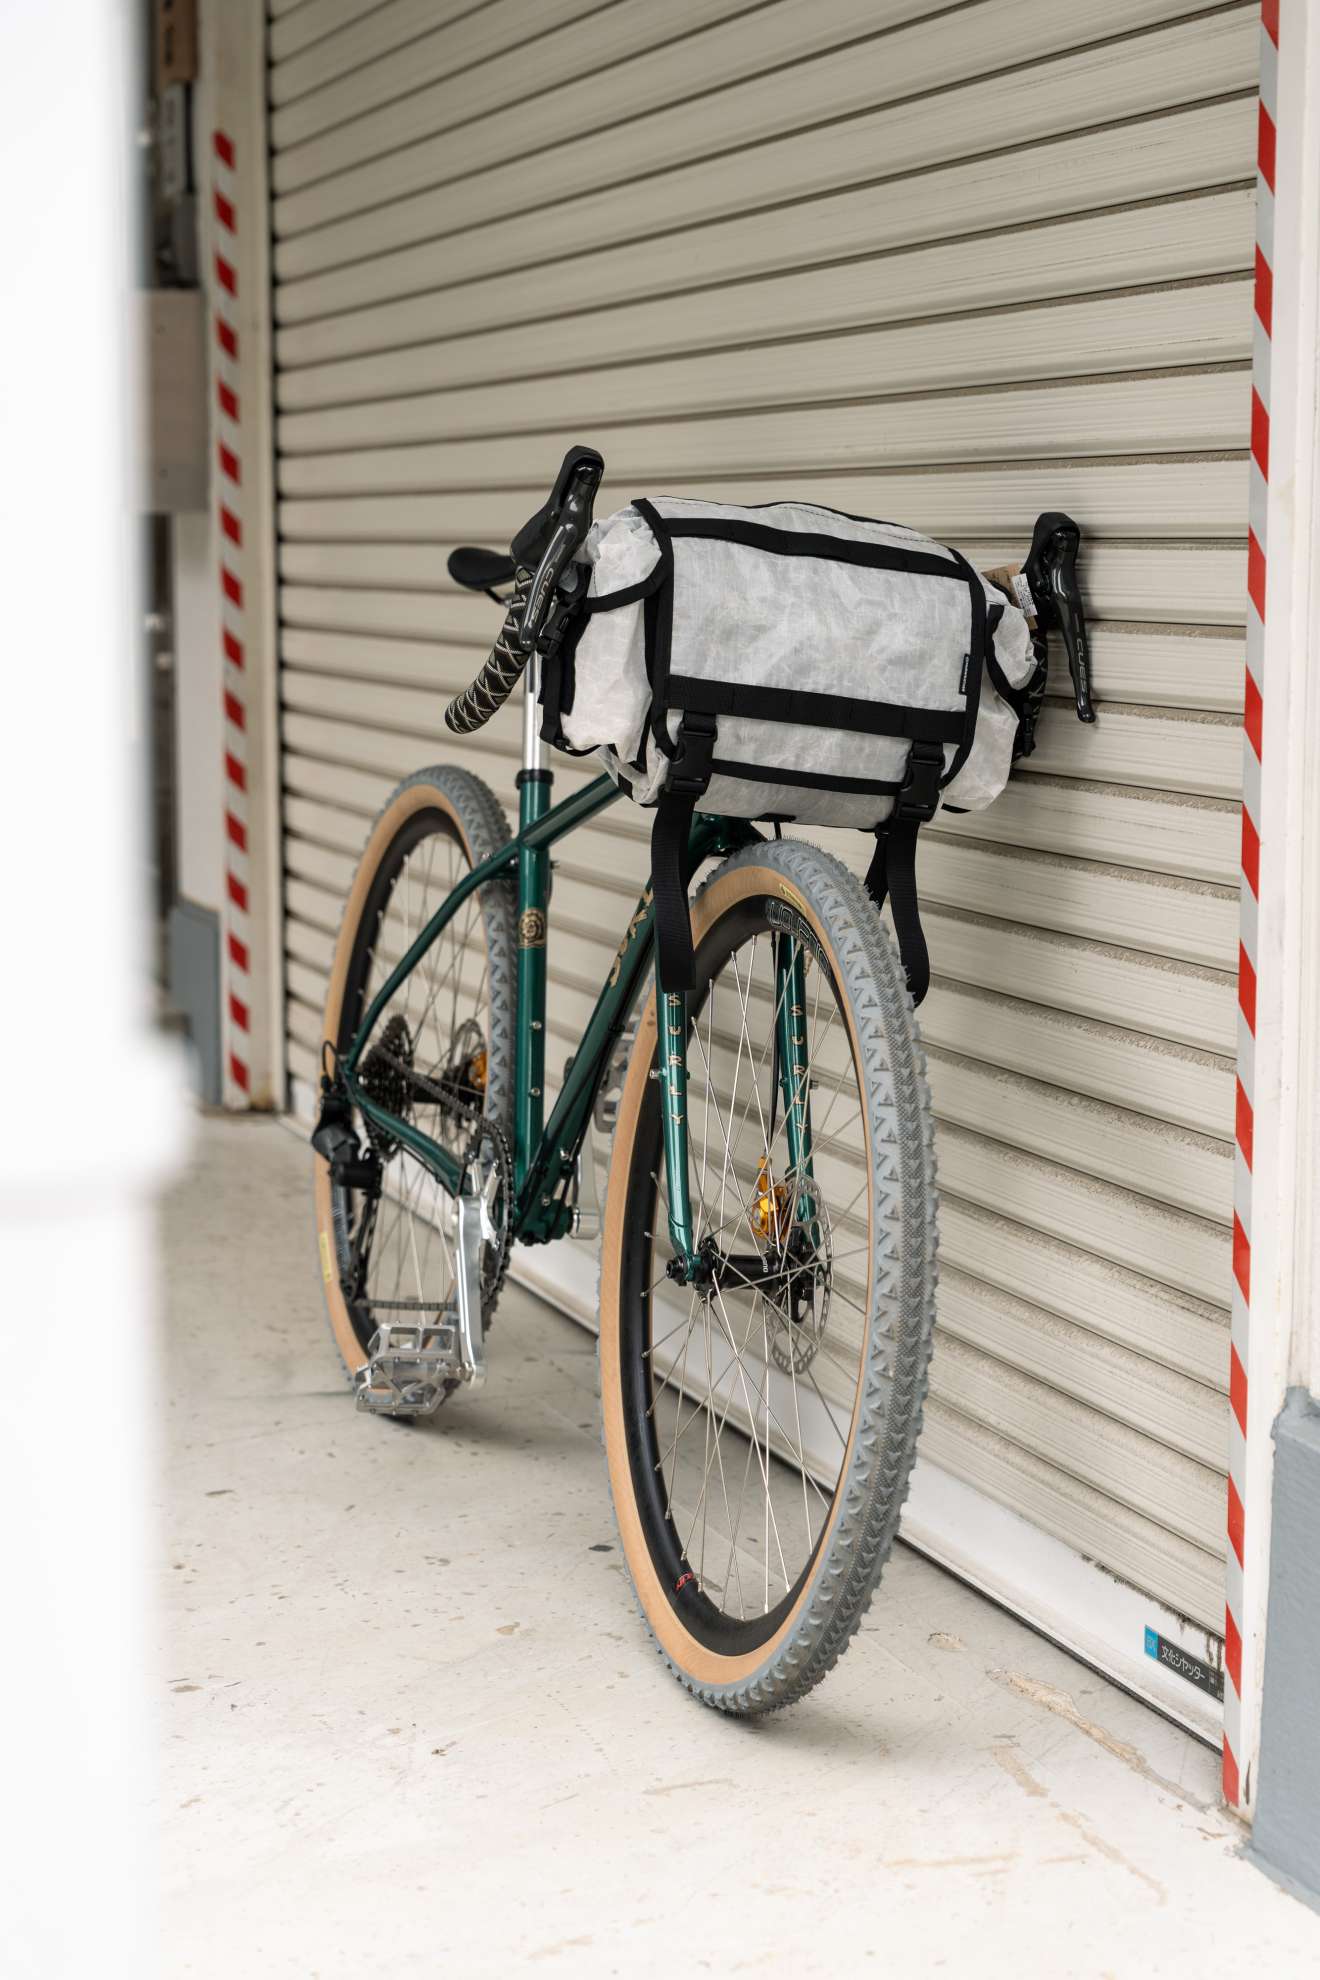
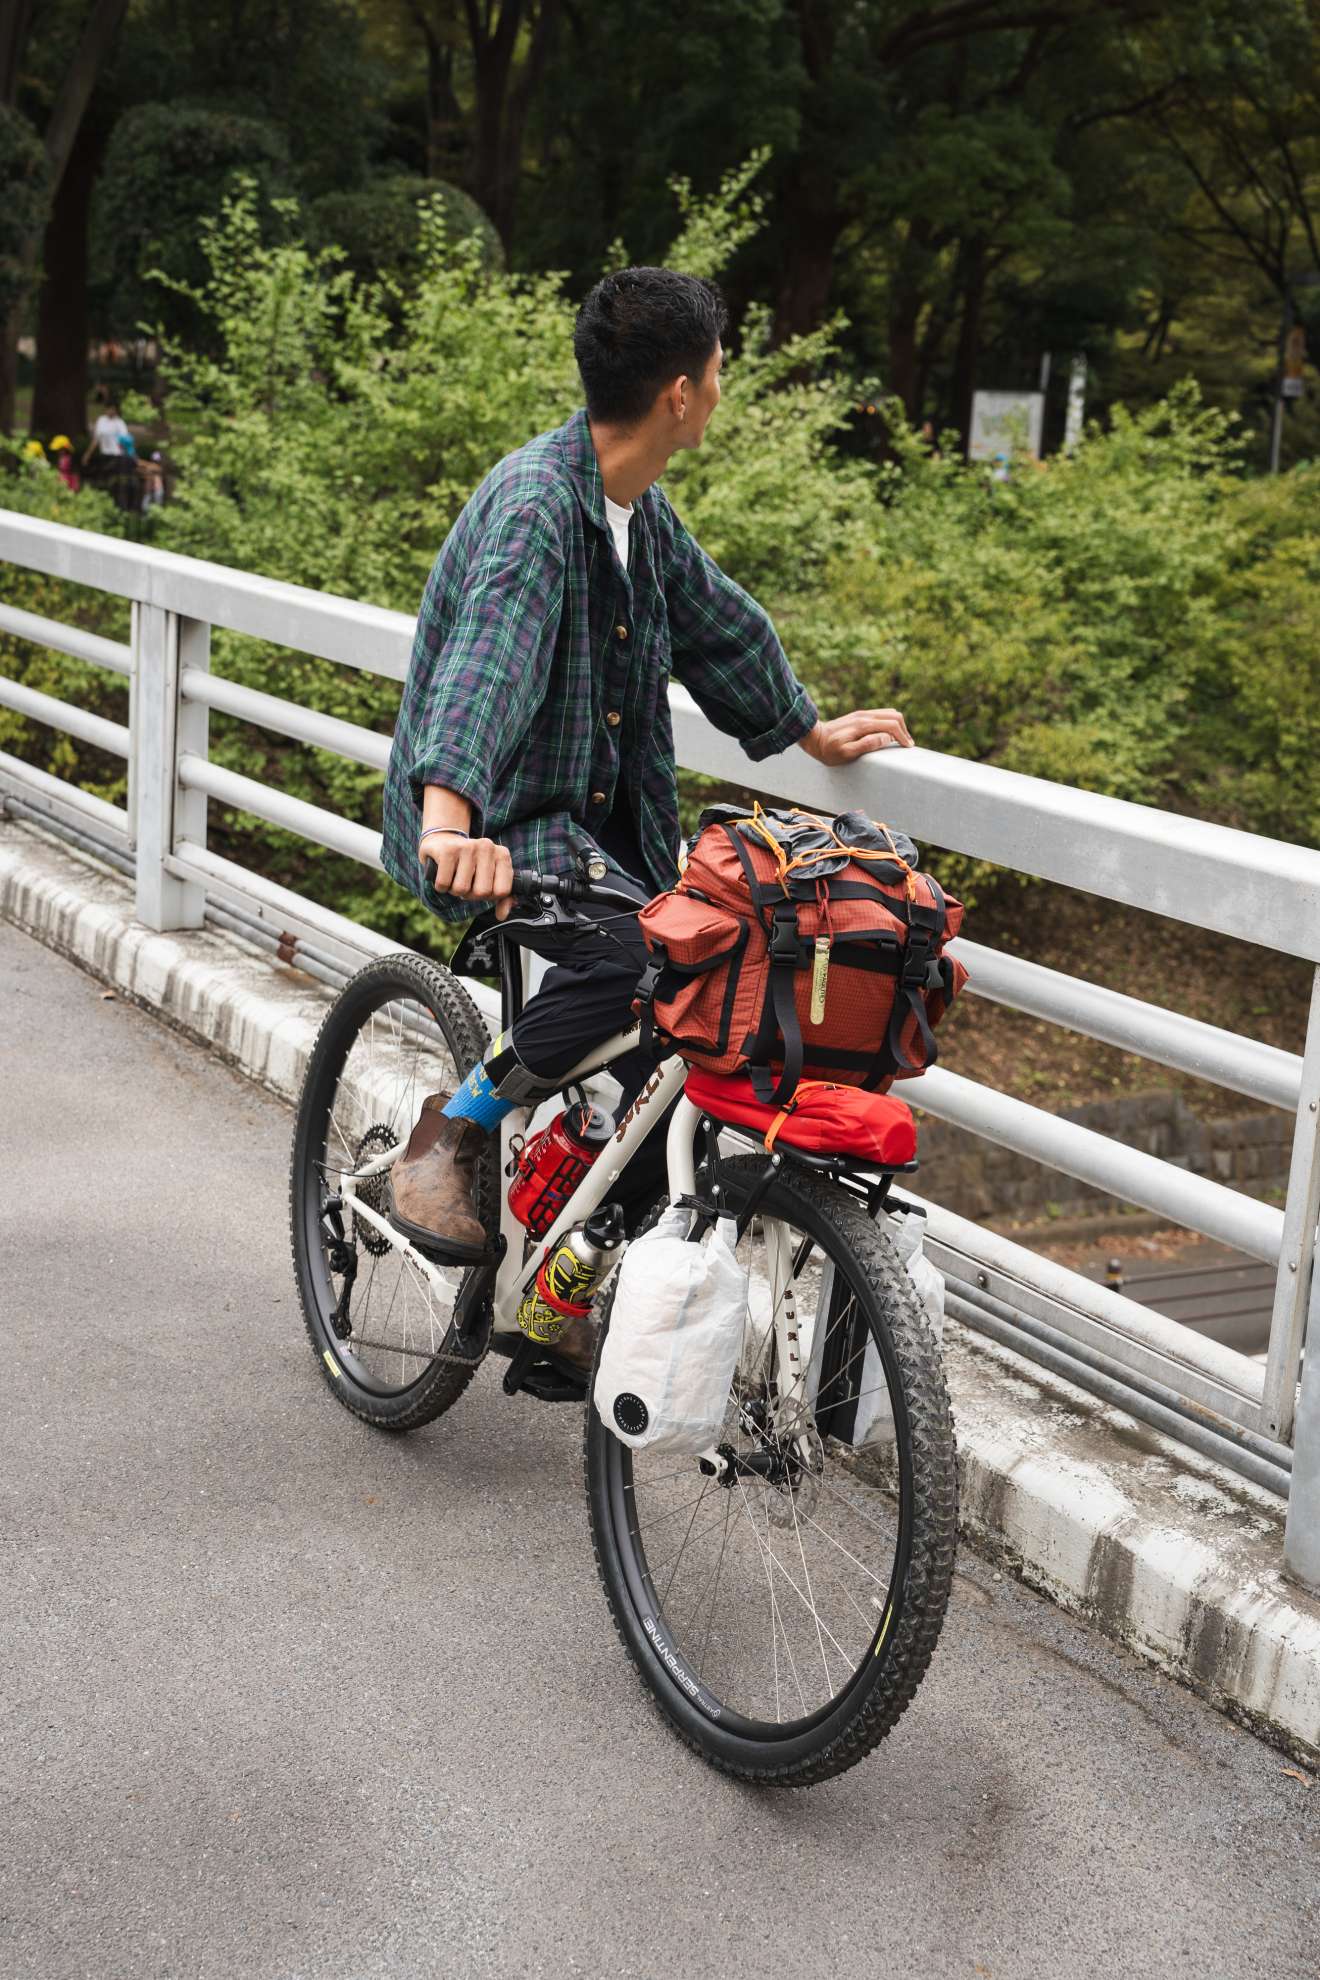
The bike in the photo above is a size 49 SURLY STRAGGLER with the handlebar set at a fairly standard height.
Even on a relatively small frame like this, you can still fit a large-capacity handlebar bag without using a rack.
That said, frame size itself isn’t really what matters.
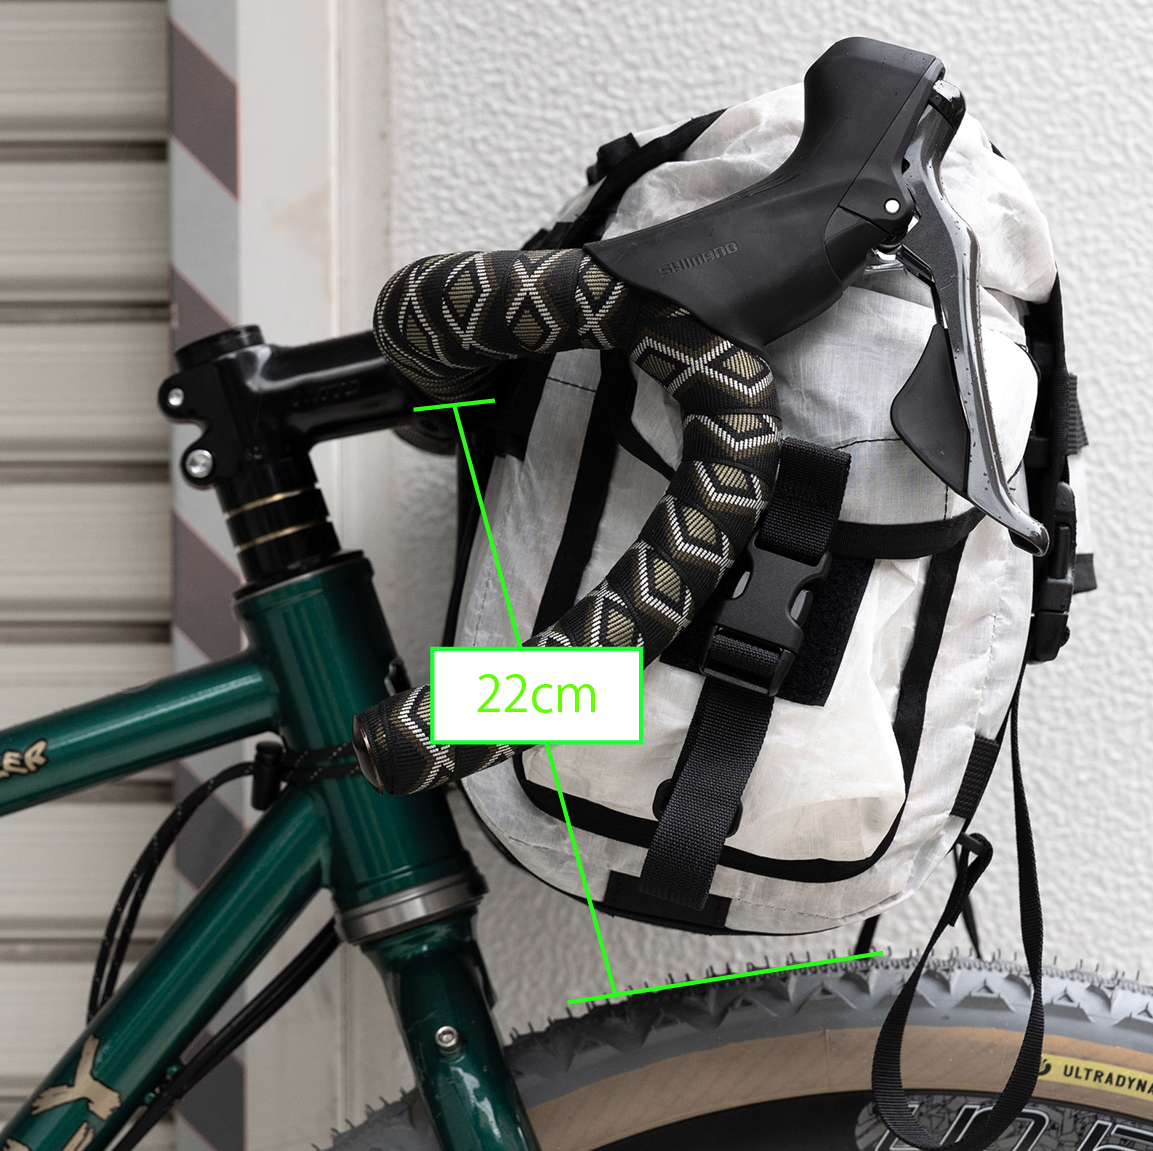
The important measurement is the clearance between the underside of the handlebar and the front tire.
So we measured it.
As shown above, if you have at least 22cm of clearance from the underside of the handlebar to the tire, the bag can be mounted without a rack.
That figure already allows for roughly 2.5cm of bag sag.
If you’re using a front rack or bag support, you’ll want at least 15cm between the mounting point and the rack platform.
If you’re considering the bag, grab a tape measure and check your own bike.
There are also a few smaller updates.
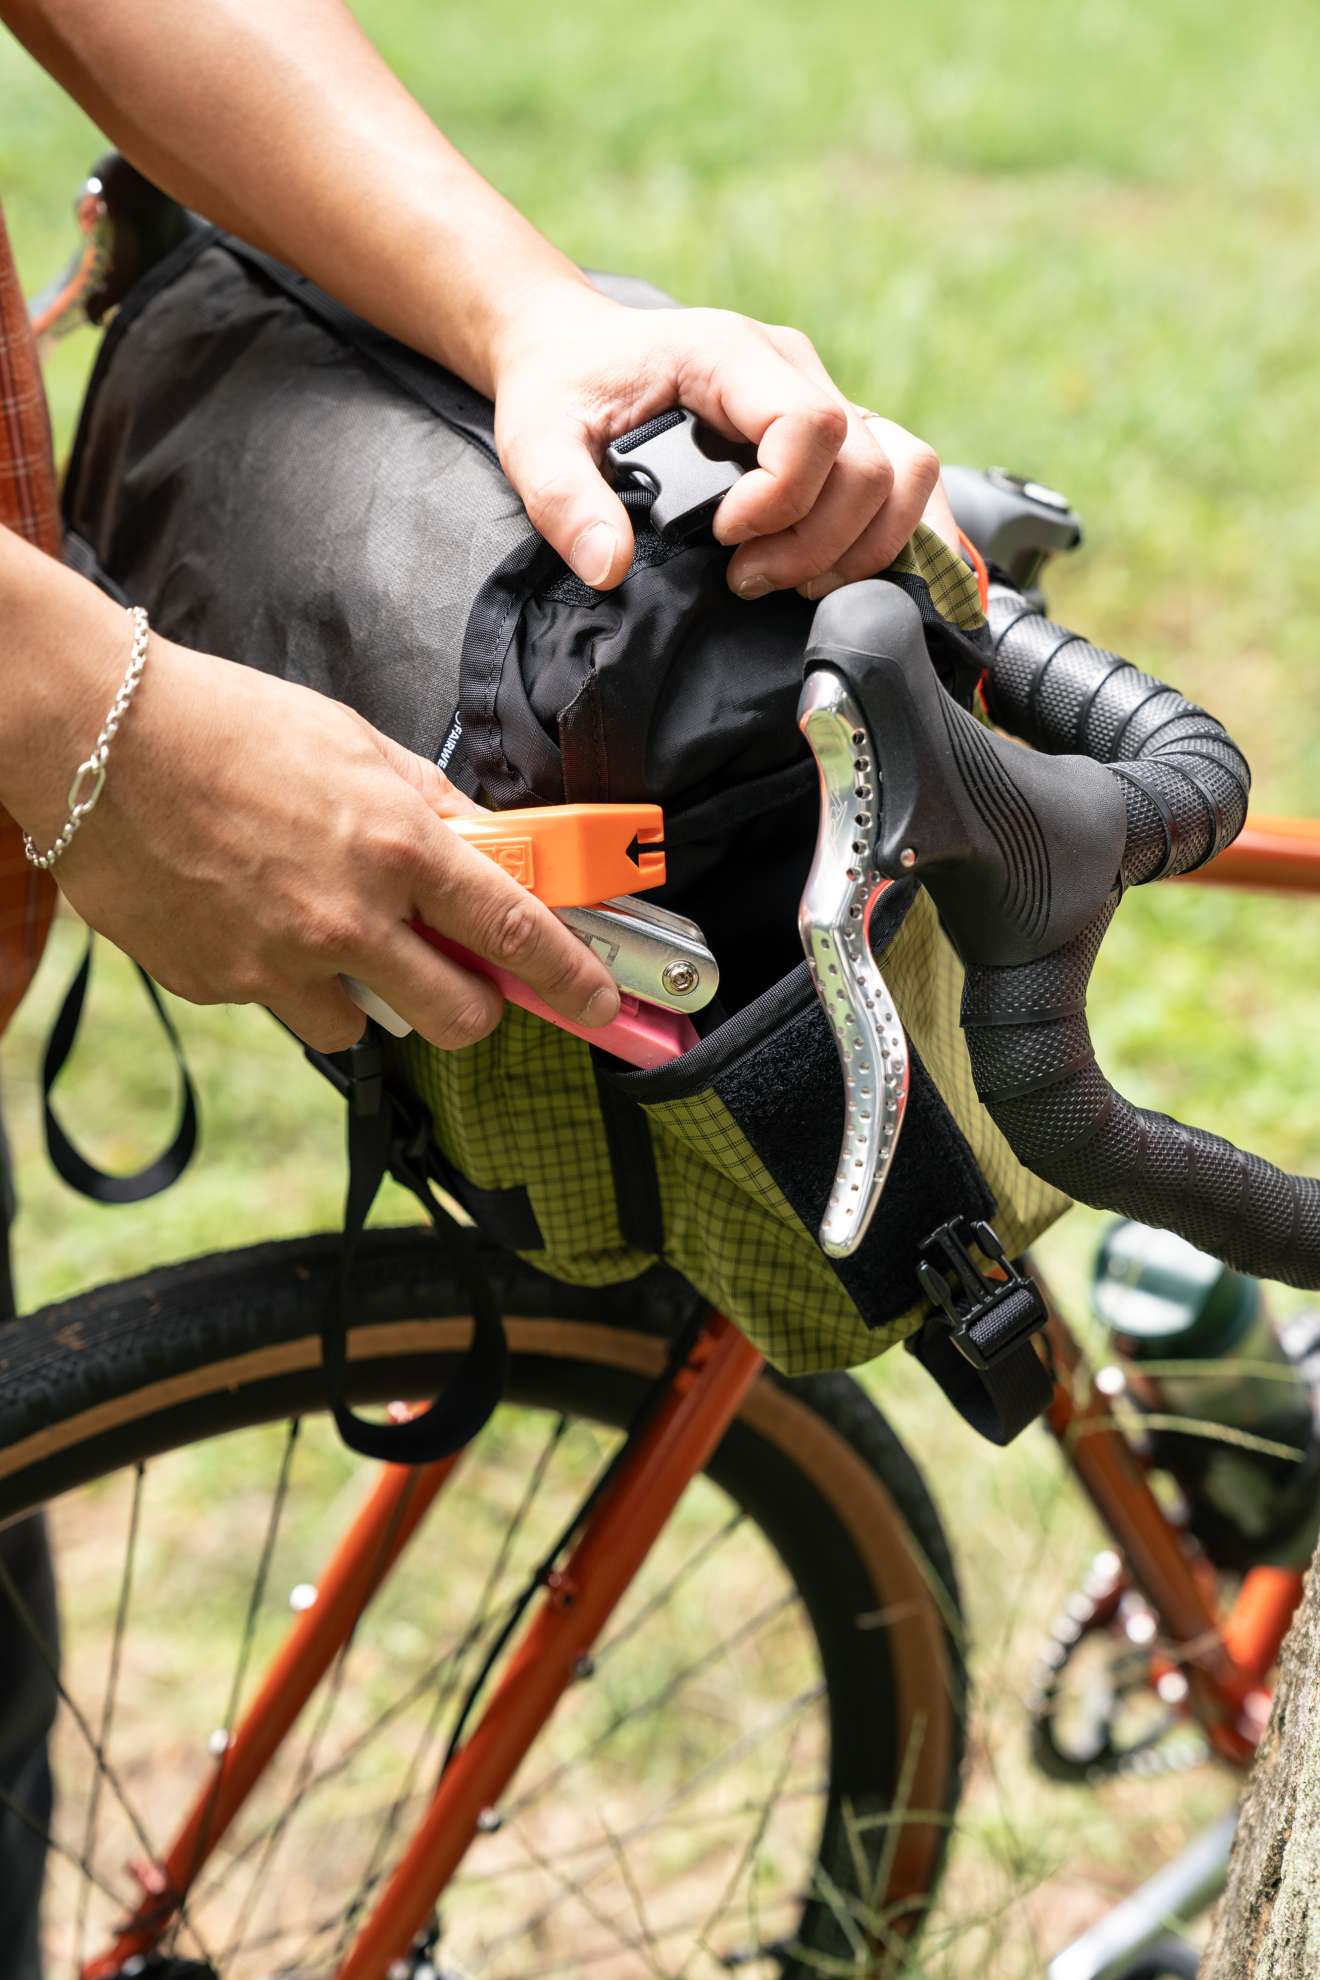
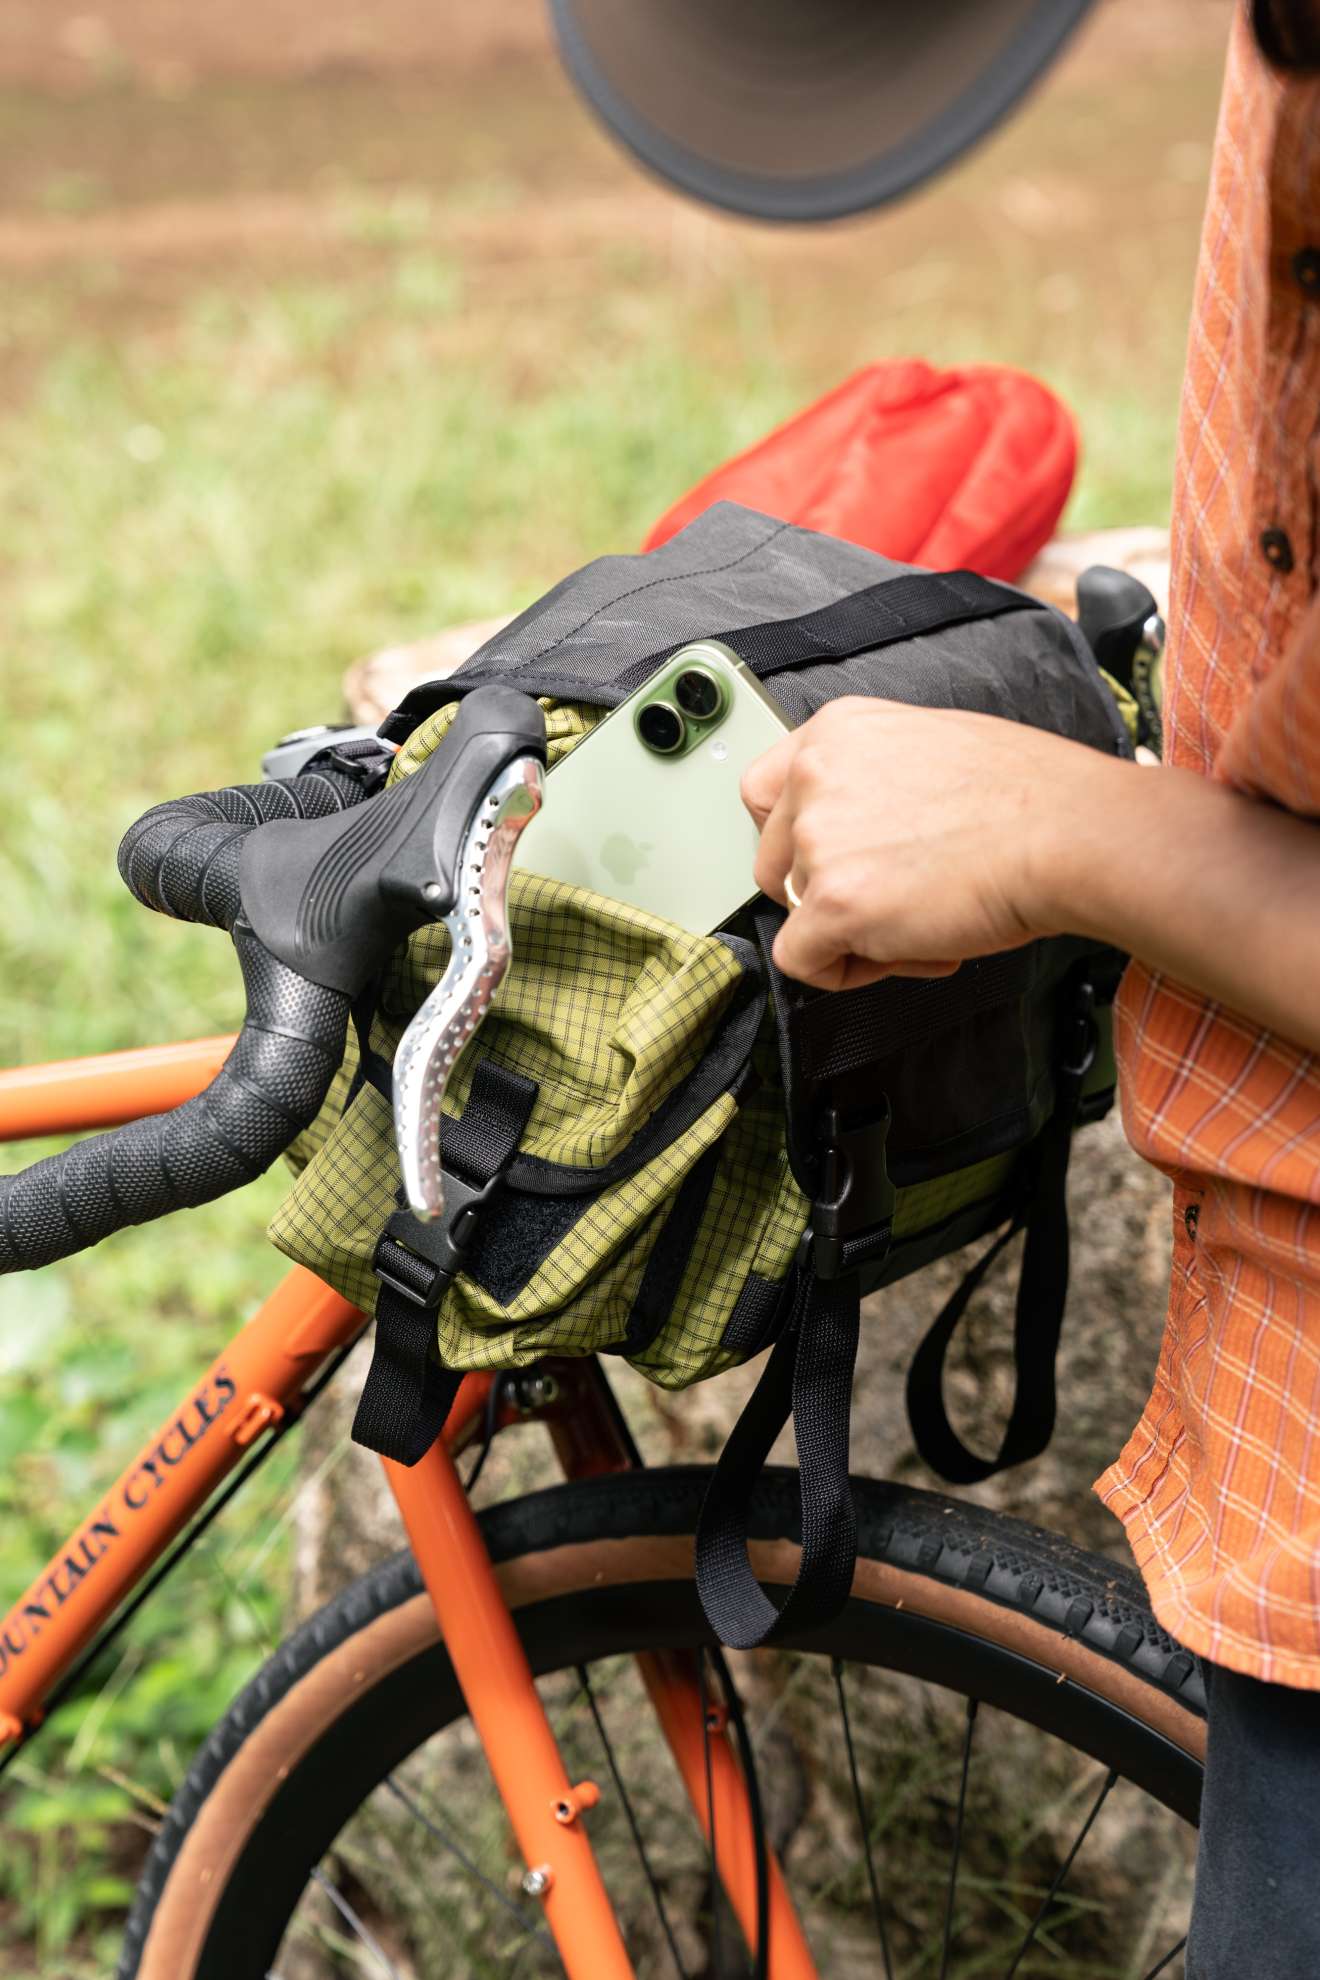
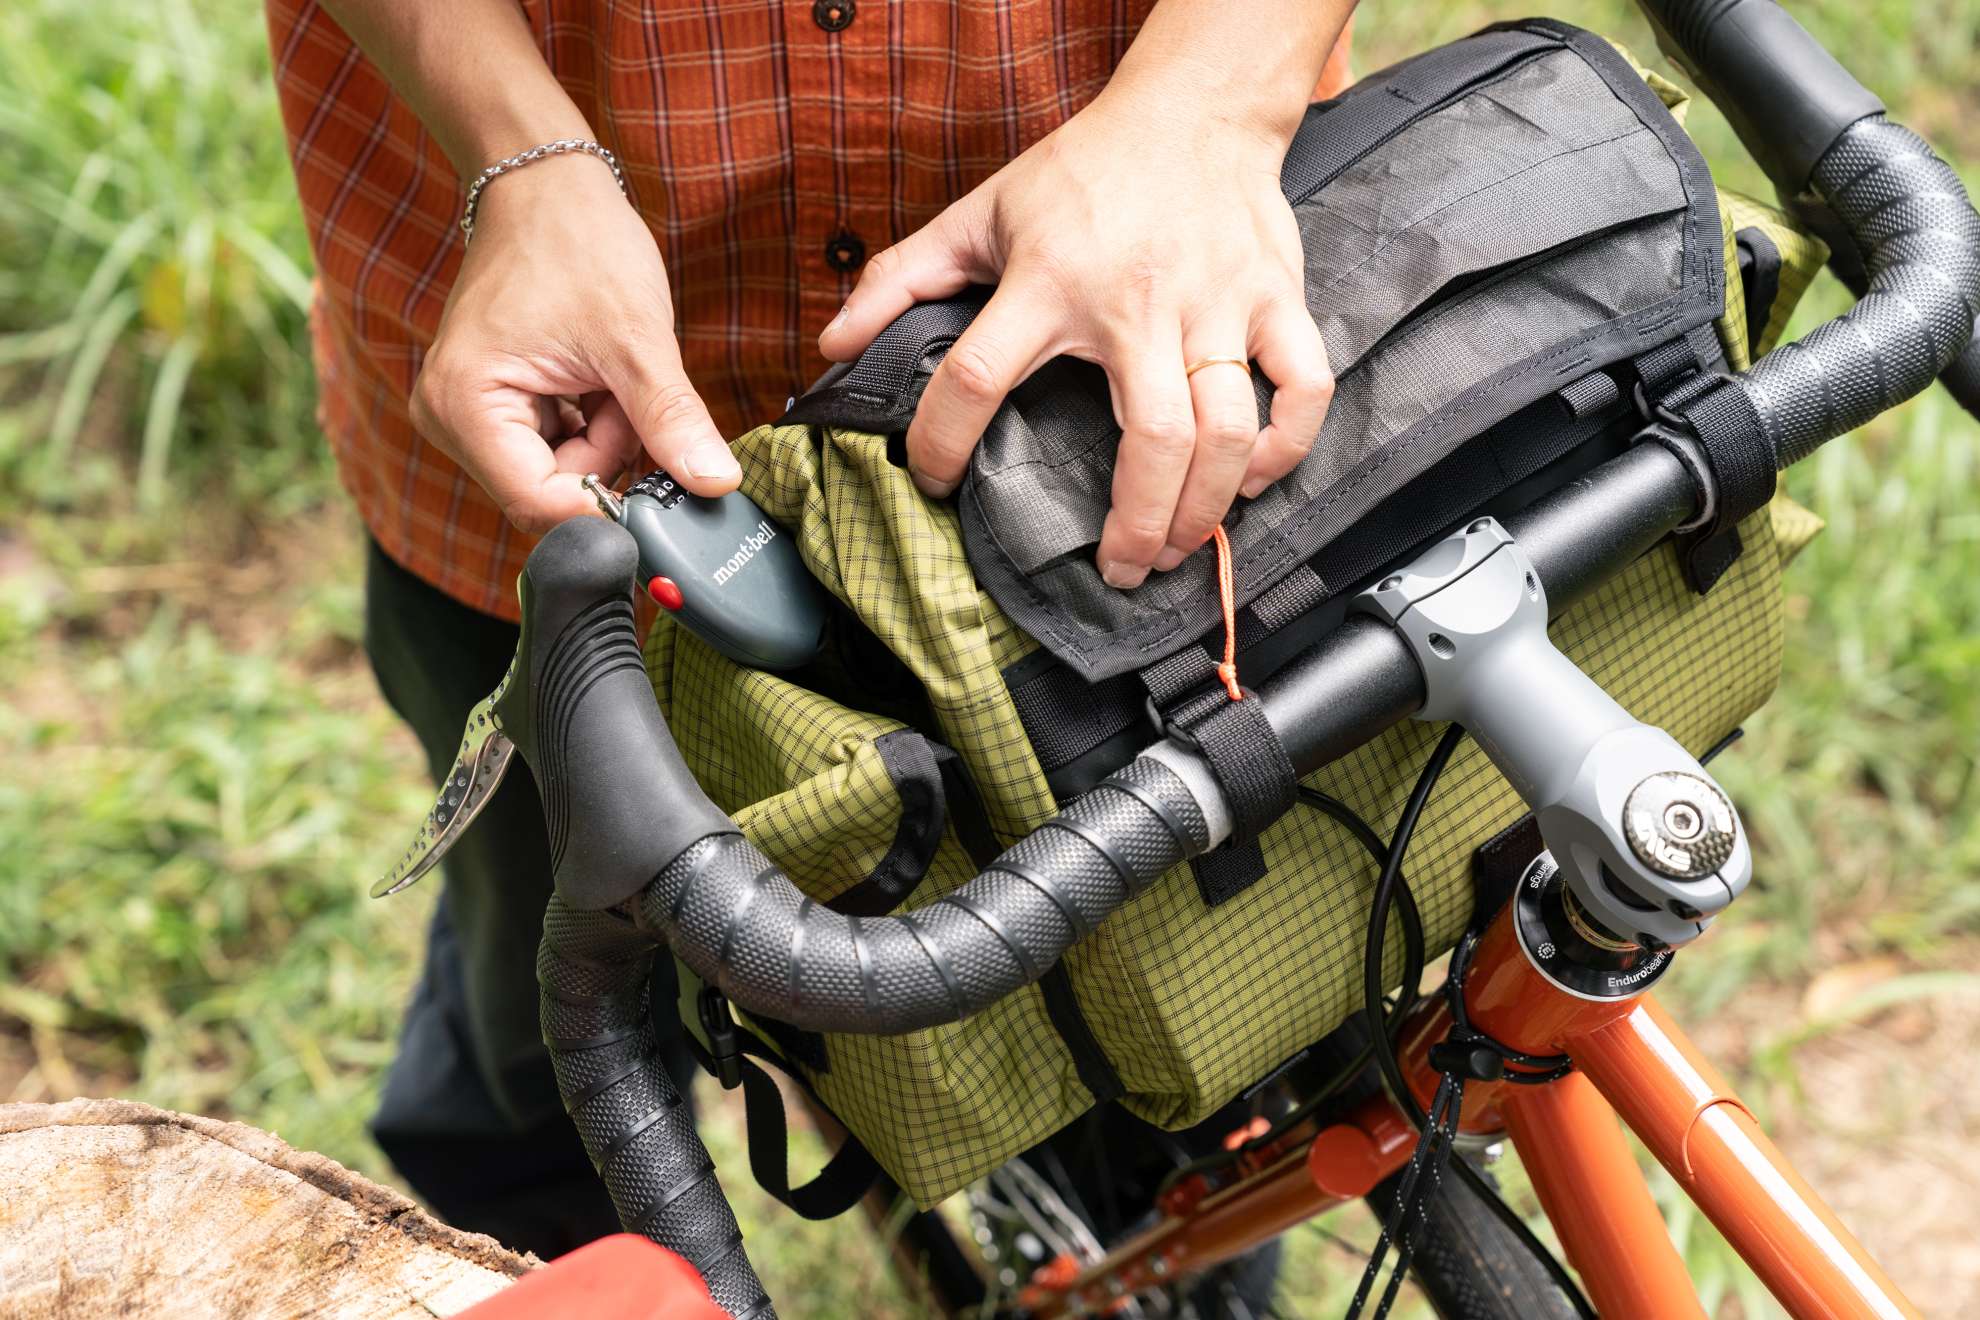
The side pockets now have buckles. The sleeves behind the pockets are still there too, so you can quickly slide in a phone, cable lock, or other small items.
The great thing about a large handlebar bag is simple:
“You can carry a lot of gear in one place.”
The downside is also simple:
“All that weight ends up concentrated in one place.”
That’s why I usually recommend spreading your load out.
And the right setup really depends on one question:
Where are you going, and what do you want to do there?
For example, if you’re heading out on a ride that includes forest roads and camping, I’d recommend:
Handlebar Bag ADV + Off Pack 18
The Off Pack 18 came from a lot of conversations Ming and I had about carrying gear on rides.
We often talked about how we sometimes take the train to avoid heavy traffic, how there are rides where you need to shoulder your bike on forest roads, and most importantly, how much we want to actually enjoy the way the bike feels once we reach a good mountain road or trail.
That led us to the idea of:
One bag on the bike, and the rest on your back.
It’s a setup that lets you enjoy both the camping and the riding without one getting too much in the way of the other.
And I also think it opens up more possibilities for combinations like bikes + hiking, or whatever other kind of outdoor play you want to mix in.
Another example would be a ride that’s mostly paved roads, where you want to cover a lot of distance and enjoy the scenery along the way.
In that case, I’d recommend:
Handlebar Bag ADV + Fork Pack
Keeping your load up front and low is a classic principle in touring.
I originally learned this years ago from Martina at Swift Industries.An easy way to imagine it is this: Think about moving a loaded cart.
Is it easier to pull it behind you, or push it in front of you?
Jan Heine of Rene Herse, who comes from the long-distance randonneuring world, has also written about the advantages of front bags in his own article, explaining that front loads can have less effect on handling while climbing or leaning the bike.
That was a long introduction, but this is exactly the kind of idea that works well with a handlebar bag and fork bags.
In the handlebar bag, I’d put lighter items and things you want easy access to:
- gloves and small personal items
- extra layers
- rain gear
- sleeping bag
Then, lower down in the Fork Packs, I’d put heavier or less frequently used things:
- cookware
- tent
- spare clothes
- food
That kind of weight distribution tends to work really well.
Another advantage of pannier-style bags like the Fork Pack is their shape.
Compared with a frame bag, they have more depth, so things like sleeping bags, cookware, and other hiking gear tend to fit more naturally and efficiently.
And of course, you don’t have to carry anything on your body, which reduces physical stress on longer rides.
In the end, the ideal bag setup changes depending on where you’re riding, how many days you’ll be out, whether you’re camping, whether it’s winter, what gear you already own, and what kind of experience you want from the trip.
And just as important as which bags you choose is what you put in each one.
Finding that balance is part of the fun.
I think all the time spent preparing — trying different combinations, moving things around, wondering if there’s a better setup — is part of bikepacking too.
You can figure it out alone through trial and error, or come into the shop and talk through it with us.
Either way, I hope you find a setup that matches the way you like to ride and play.
From light camping tours to ultra-distance rides and long tours, the Handlebar Bag ADV is ready to come along.
That’s our updated FAIRWEATHER Handlebar Bag ADV.